Hardware — Software setup
Software setup
How-to guideThe physical build is finished. Install the software, then carry on in the SorterOS section.
The machine is built. Everything is printed, bolted, wired and plugged in, and nothing more is added to it by hand. What is left is software, and all of it lives in the SorterOS section.
1. Install SorterOS on the Pi
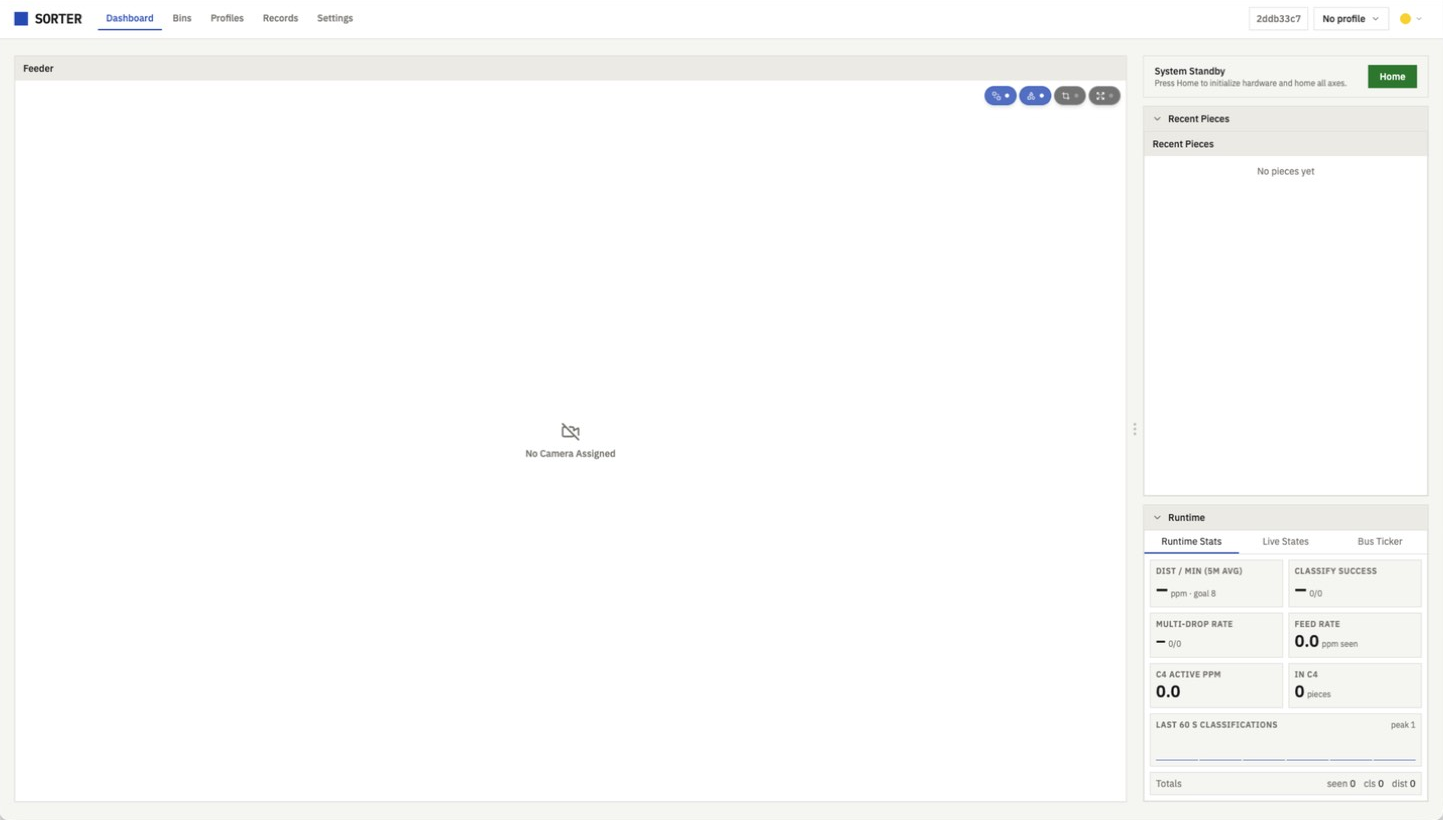
Installation has three routes: the SorterOS image, pre-built and the recommended one for the Orange Pi 5; the one-command installer for generic Linux; and the by-hand sequence for anything else. Each ends the same way, with the SorterOS UI open in a browser and the first-boot setup wizard waiting.
2. Flash the control board before the wizard
The board needs its firmware before the wizard can see it. Controller Discovery only lists boards that already answer on USB serial, so a board with nothing on it is invisible there and the step reports No MCU buses found.
With SorterOS running, flash it from Settings → Control board: pick a release (or upload a .uf2 directly) and flash it over the Pico's USB serial connection. The asset you want is the distribution one for your board revision, which is the all-in-one build for a machine with a single control board. A v1.3 board takes the v1-2 build. A board that has never been flashed is a special case, because it enumerates as an RPI-RP2 drive rather than a serial port and needs the Recovery flash option instead. SorterOS troubleshooting has those steps.
3. Carry on in SorterOS
From here the order is:
- First setup in the UI. The setup wizard: name the machine, find the boards, check motion and endstops, assign the servos and the cameras.
- Camera calibration. Focus each camera against a printed chart.
- Chute calibration. Teach the chute where your bins are.
- Before your first sort run. The last five settings to check.
- Preparing LEGO for a sort run. What to take out of a tub of bulk LEGO before it goes in.
- Your first sort run. Pick a profile, feed a handful of parts, watch them land.
The finished result
The SorterOS UI open in a browser on the machine's own address, the board answering on USB serial, and the setup wizard waiting. Everything from here happens in this window.