
SorterOS — Operate
Chute calibration
How-to guideHome the chute, teach it where the bins are, and test every bin it can reach. Do this once on a new machine, after the cameras are focused.
The chute is the arm that drops each part into a bin. It does not know where your bins are until you tell it. You do that from the UI, in three parts: home the chute, capture two bins, then test where it can reach.
It takes about fifteen minutes. Everything happens in Settings, and nothing here needs a terminal.
Before you start
- The machine is powered on and the UI is open.
- The bins are in their slots on every layer.
- Nothing is resting in the chute.
- You can stand where you can see one whole section of bins.
A section is one bay of bins on one layer. There are six bays around the hexagon, so six sections per layer, each holding two or three bins depending on that layer's size.
Set the bin count for each layer first, in Settings → Storage Layers: switch the layer on, and give it its number of sections and its number of bins in a section. The chute aims from those numbers, so a wrong count sends pieces to the wrong bin.
Open Settings → Chute Aiming from the left sidebar. The top of the page shows the numbers the machine aims with today. Calibration replaces them.

Every step on this page turns the chute. The chute has a hard stop at home and cannot turn past it, so it has about 350° of travel. Always home it first.
1. Home the chute
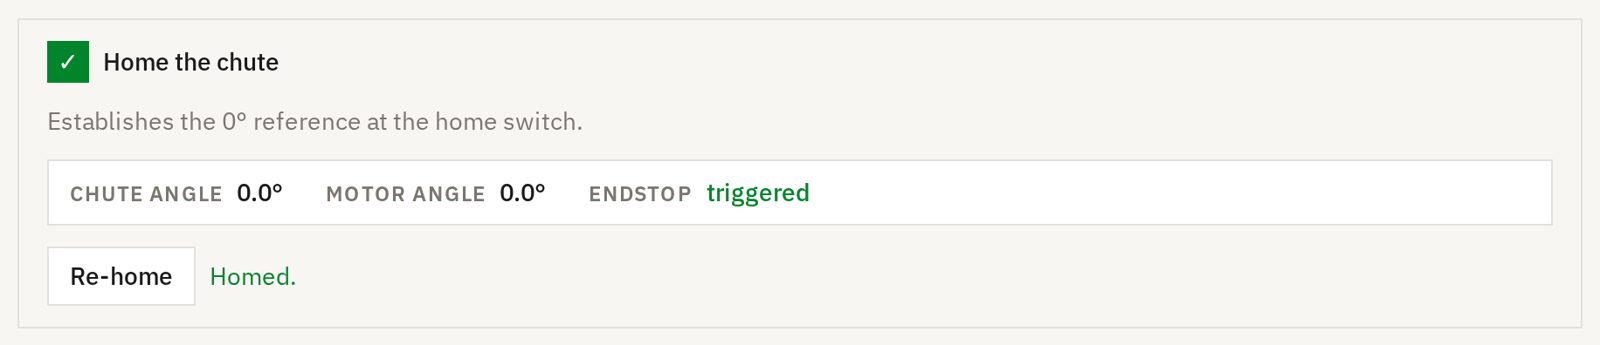
Press Home chute. The chute turns slowly until it reaches its home switch. That point becomes 0°.
Wait for the step to turn green and read Homed. Endstop changes to triggered.
If the wrong motor starts to move, press Cancel.
2. Aim at the first bin of a section
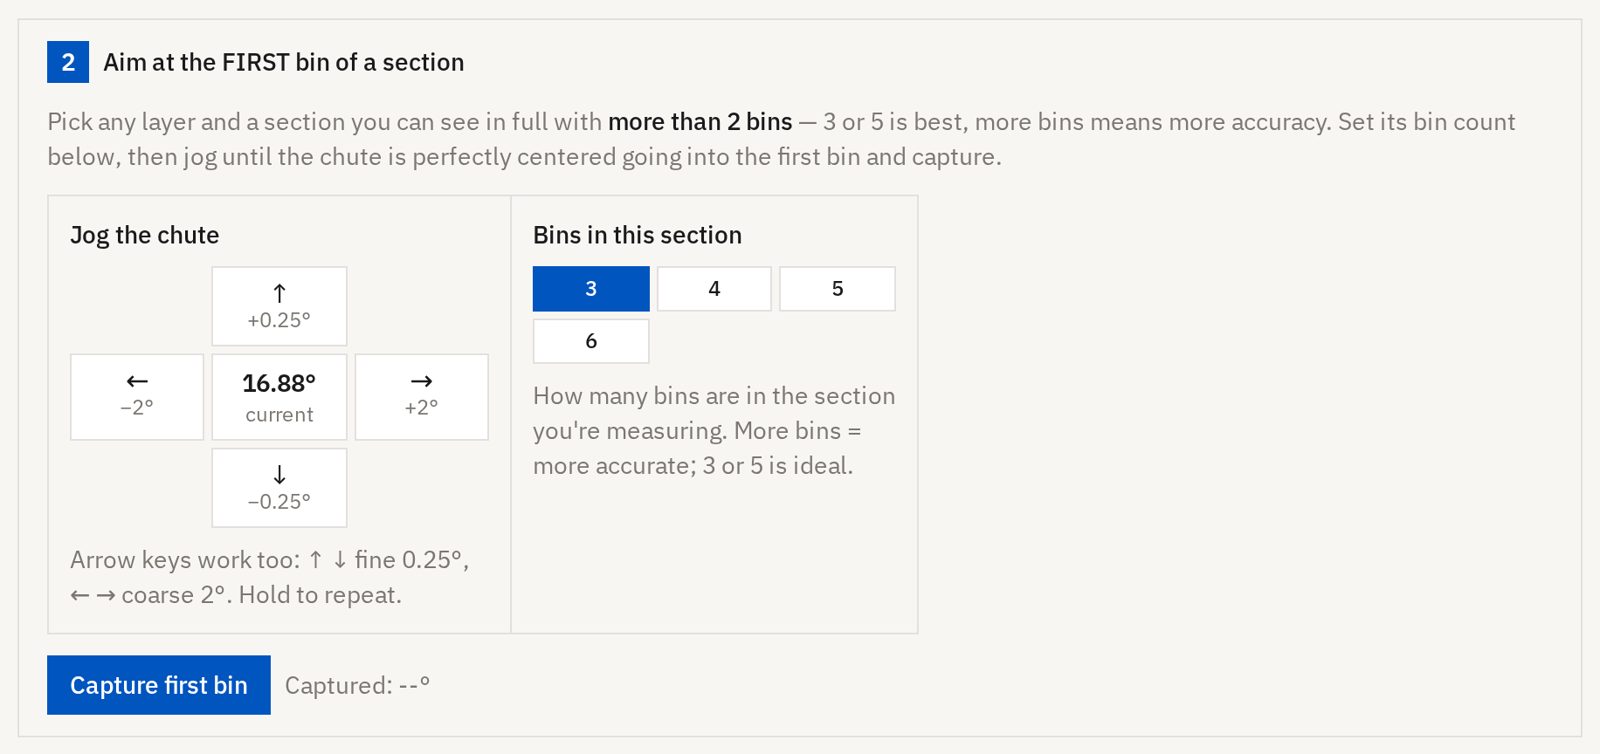
Pick one section on one layer that you can see all of. A section with 3 or 5 bins gives the best result. A section with 2 bins is not enough.
Set Bins in this section to the number of bins in the section you picked.
Now jog the chute until it points at the middle of the first bin of that section:
- ← and → move 2°.
- ↑ and ↓ move 0.25°.
- The arrow keys on your keyboard do the same, and repeat if you hold them.
Press Capture first bin. The captured angle appears next to the button.
First and last mean the order the chute reaches the bins as the angle counts up from home. They do not mean left and right. Capturing them the wrong way round is refused.
3. Aim at the last bin of the same section
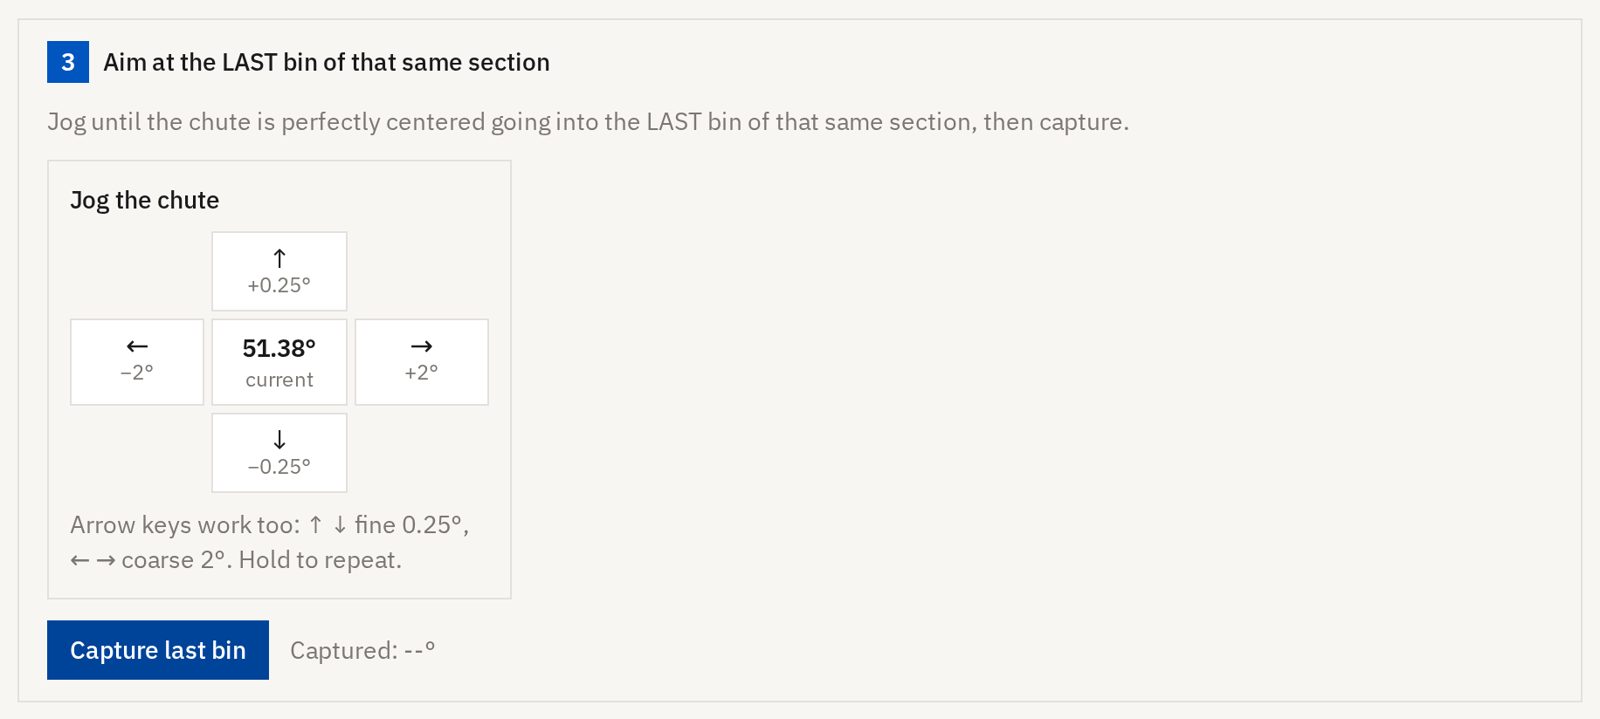
Jog to the middle of the last bin of that same section. Do not change the layer or the section.
Press Capture last bin.
4. Lock it in
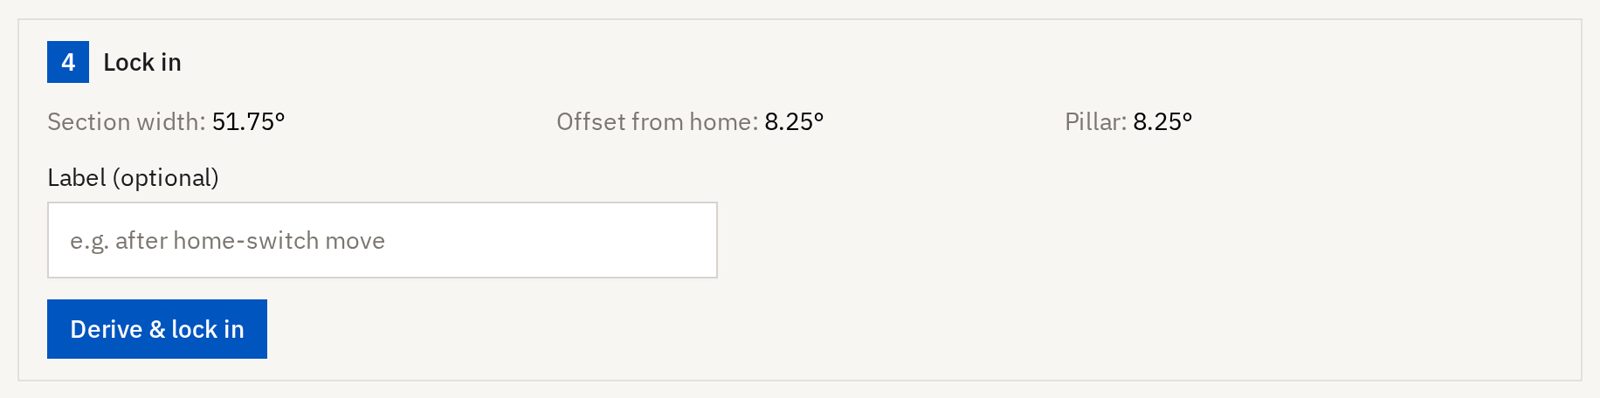
The page works out the section width and the offset from home from your two captures, and shows them.
Type a label if you want to recognise this calibration later. Press Derive & lock in.
The calibration is saved at the bottom of the page and marked ACTIVE. Old calibrations stay in that list. To return to one, press Lock in on its row.
5. Test the range of motion
Scroll down to Reachable bins by layer size. Each circle is one layer layout, from 1 bin per section up to 5, and each small ring on it is one bin.
Click a bin that is not crossed out, then press Test aim at this bin. The chute turns to it. Watch the machine: the chute should stop centred over the bin you clicked.
Test at least three bins in one section: the first, one in the middle, and the last.
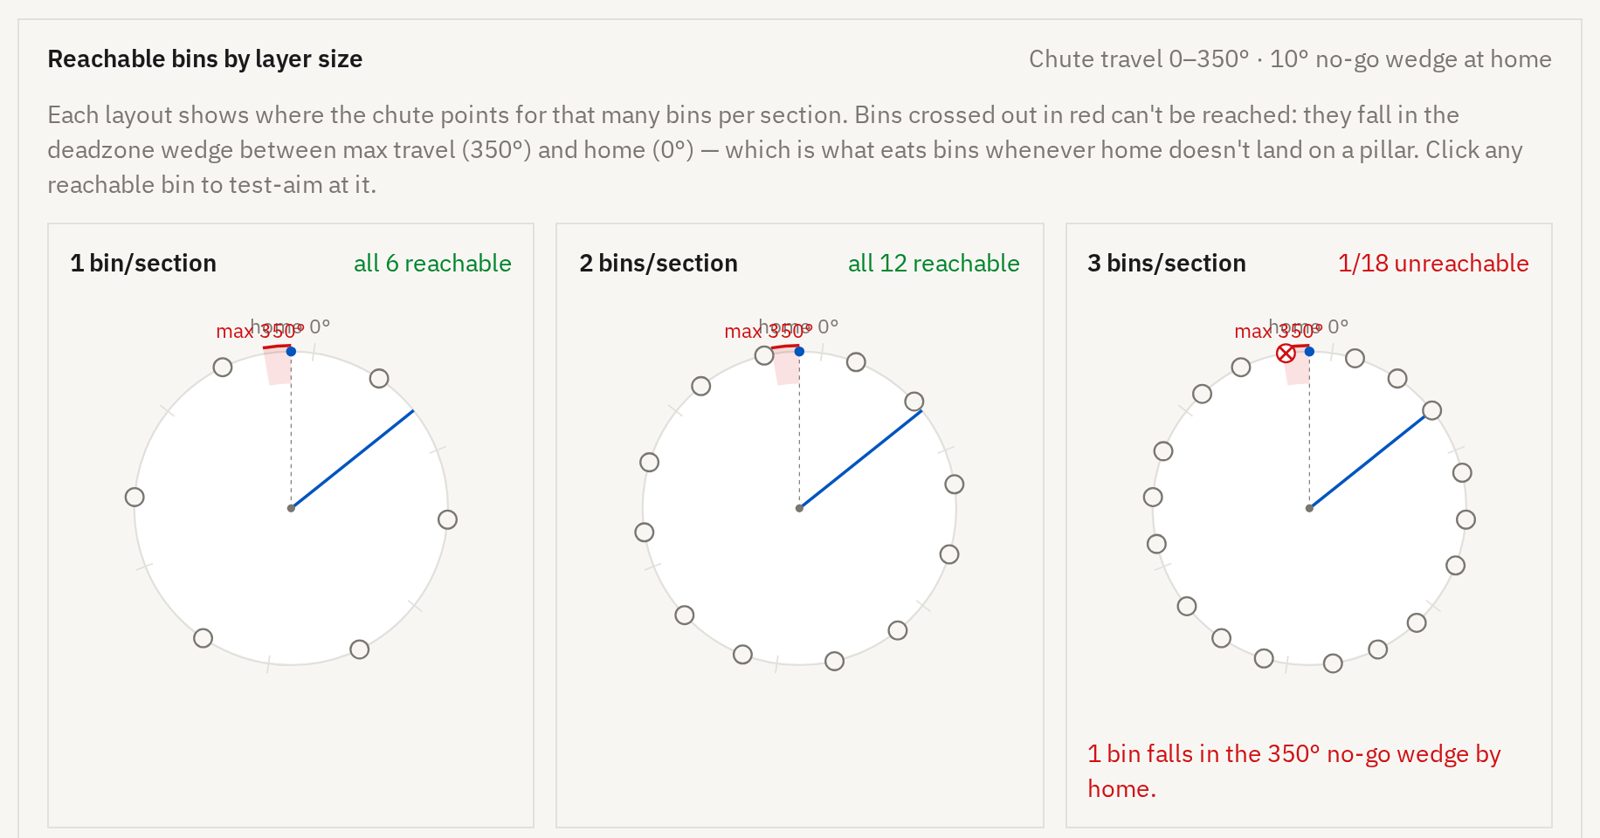
Bins crossed out in red sit in the no-go wedge beside home. The chute cannot reach them and the machine will not send parts to them.
If a bin is not centred, run steps 1 to 4 again and take the two captures as carefully as you can. The bins at the two ends of a section are the ones that show a sloppy capture first.
If the chute does not move
Settings → Chute is the chute's motor page. Its top shows where the chute is pointing, what the motor is doing, and whether the chute is homed.
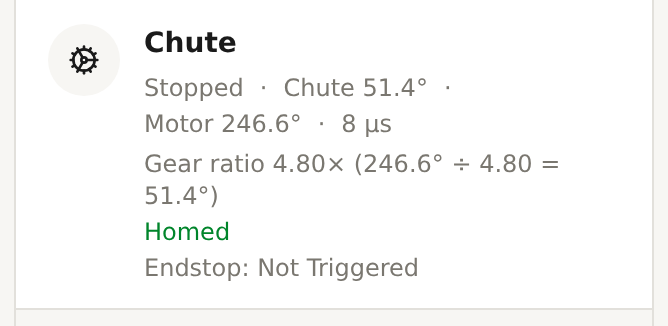
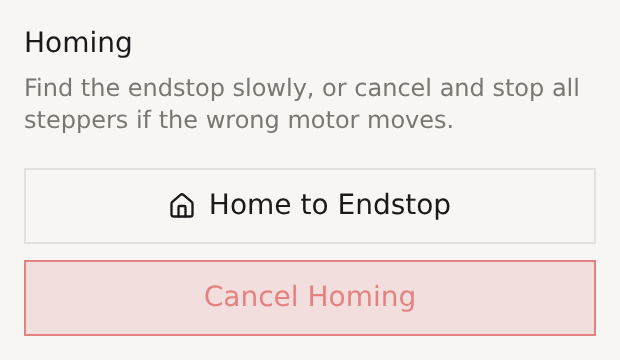
Homing is on that page too, under Homing, so you can re-home without opening the calibration. Cancel Homing stops every stepper.
If the chute jammed, the page shows a red stall message. Clear the jam by hand, press Clear stall, then home the chute again. A stall throws away the home reference, so the aim means nothing until you re-home.
Run this again when
- You move or replace the home switch.
- The chute or its gear comes off and goes back on.
- The chute stalls.
- Parts start landing in the wrong bin. See Chute drift.
The finished result
One calibration saved and marked ACTIVE, and a test aim landing the chute centred over every bin you tried.
