
Distribution — Chute
Chute
The rotating chute that aims parts at the correct bin.
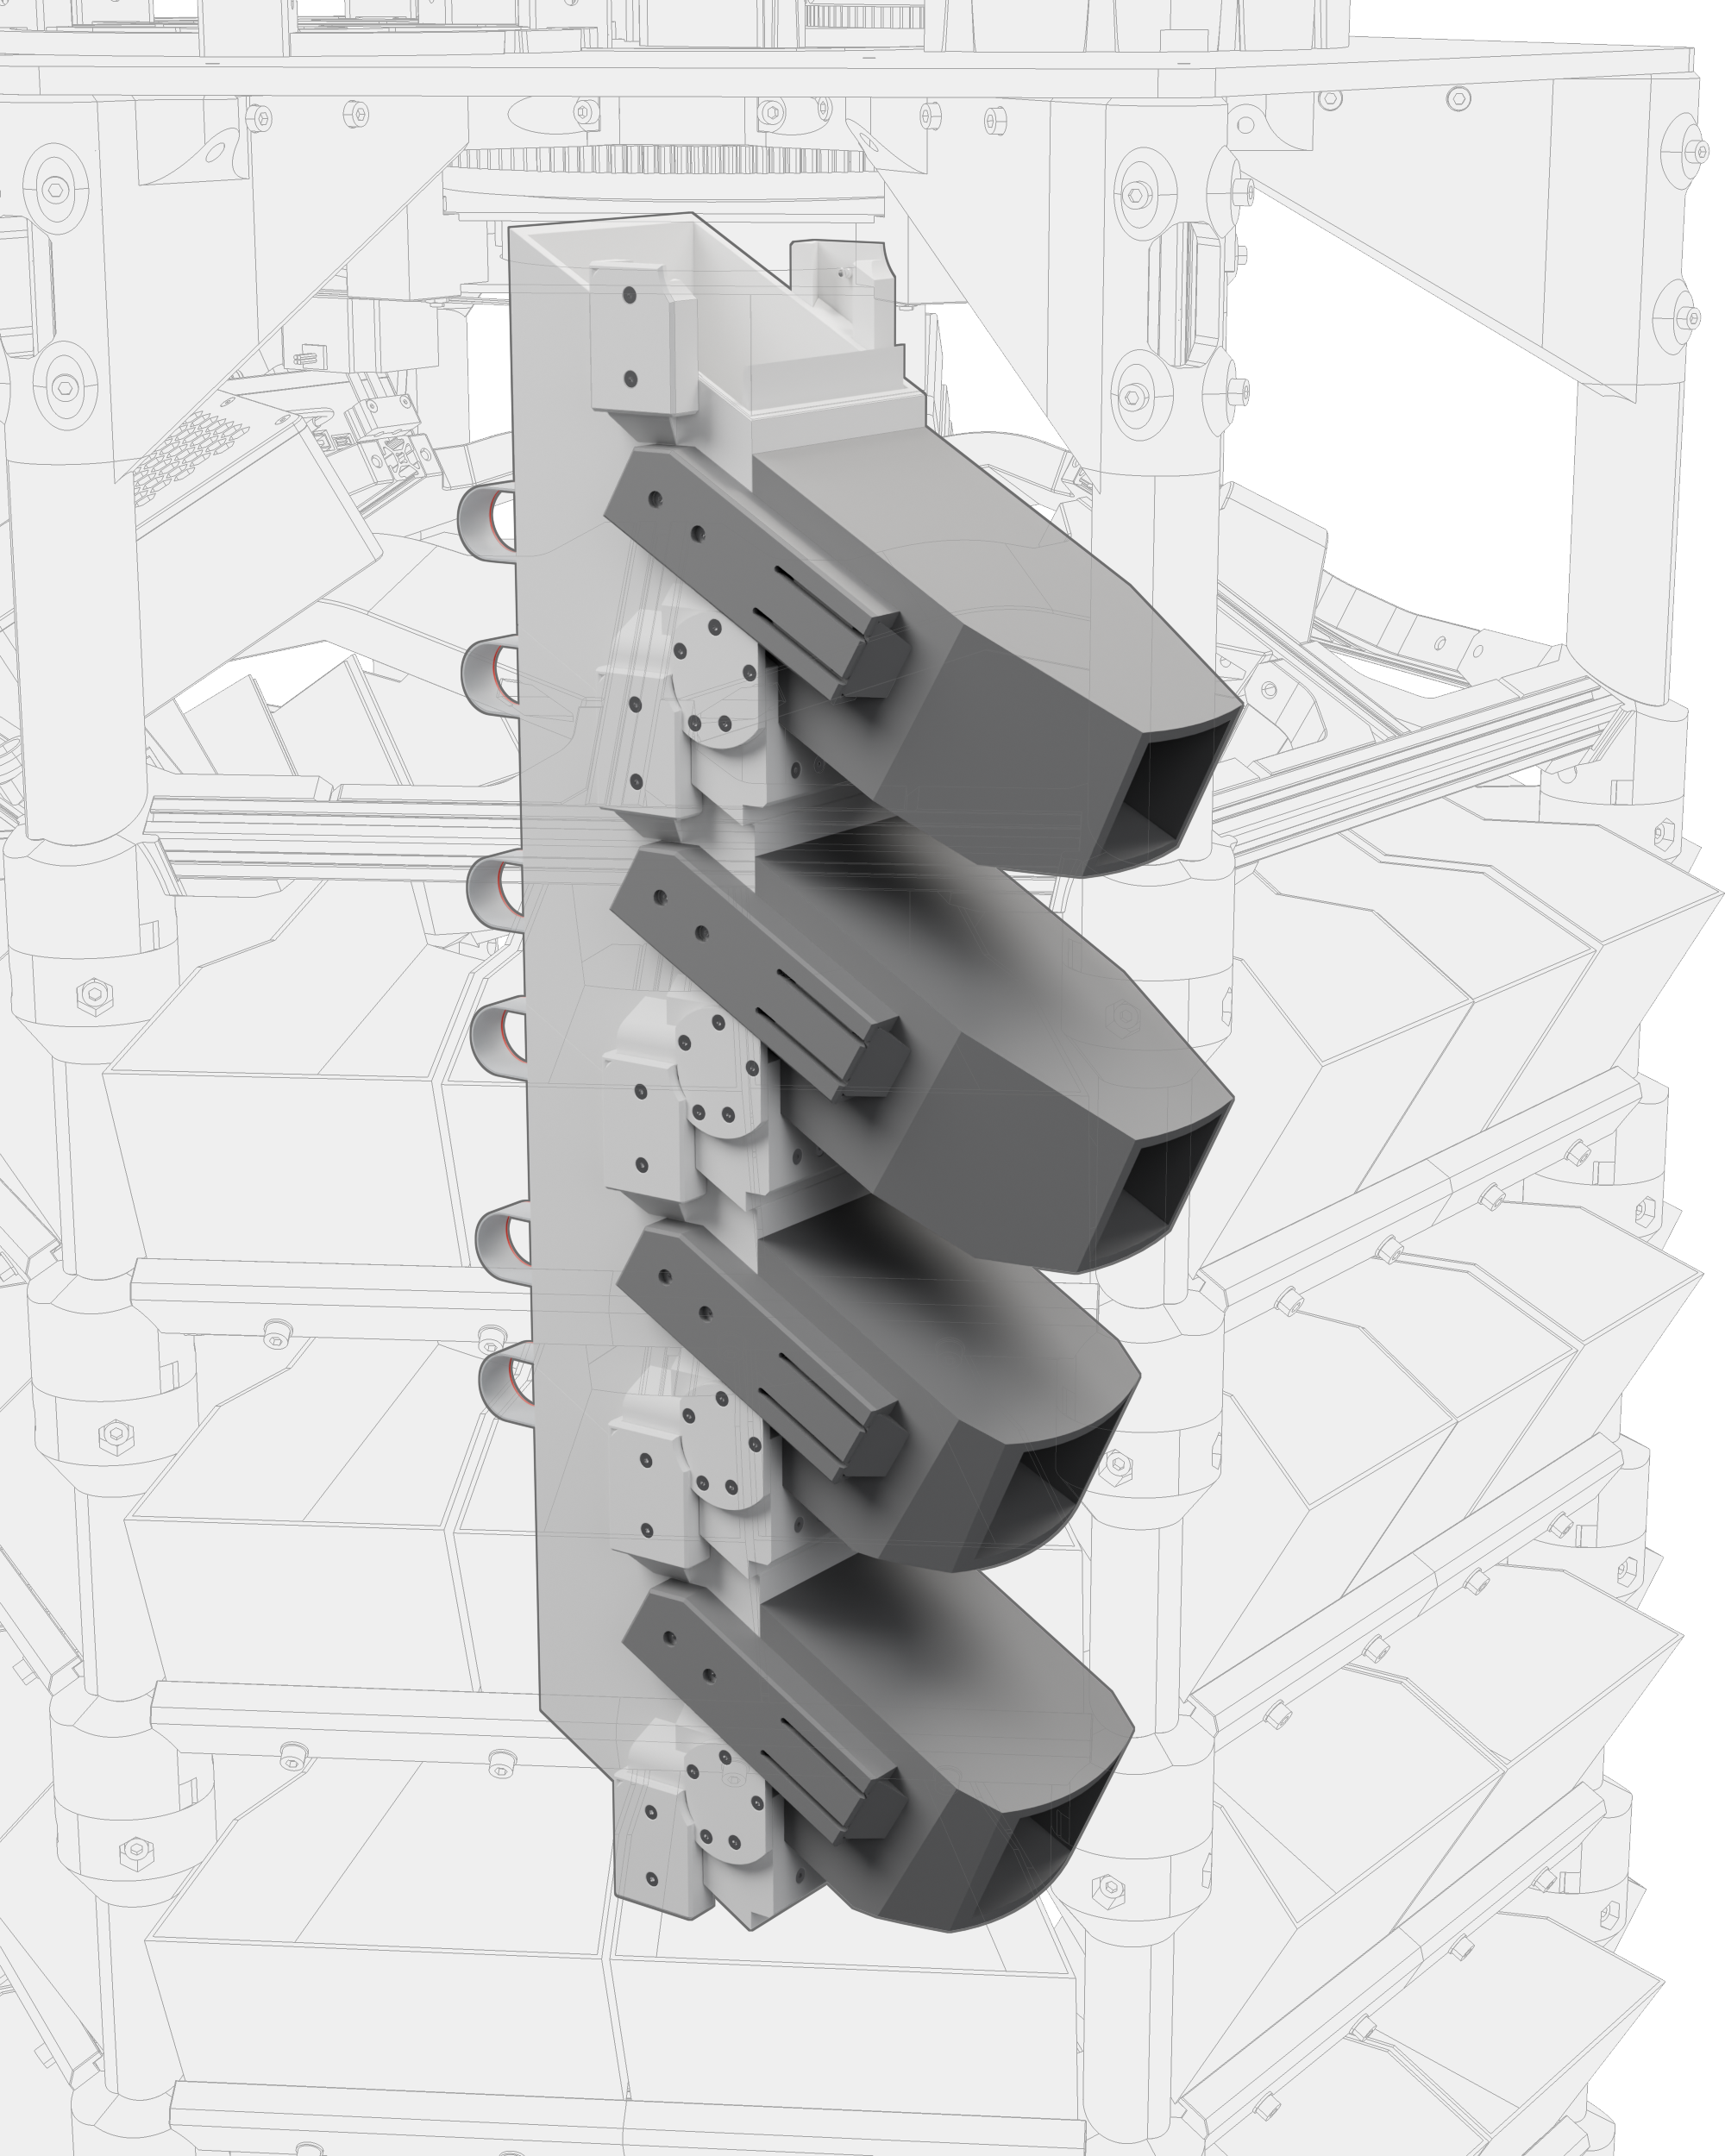
The chute is one per layer. Build the core first, since everything else bolts into its heat inserts.
The whole chute stack rotates as one unit, on the top interface's Lazy Susan, driven by the stepper motor and gear train described there. The bins themselves don't move; each chute's door opens for a moment once it's rotated into position over the correct bin, dropping the part in. See Door module and Layer adapter board for how that opening is driven and timed.
- Chute core. The printed body everything else mounts to, and the 18 heat inserts that hold it all together.
- Door module. The door itself, the bearing assembly it swings on, the servo adapter, and the MG995 servo that drives it. Built as a unit, then bolted on.
- Layer adapter board. The board that drives the servo.
- Funnel brackets. The two brackets that hang off the core, and the funnel that snaps into them. You choose one of two funnel sizes for each layer, which sets that layer's funnel and its bin set together, so make the choice before printing either.
- Layer connectors. The pair that joins this layer's chute to the one below.
Installing the chutes in the machine
Do not add the chutes while you build the layers. Build the whole frame first, then add the chutes afterward, one at a time, without their funnels.
Step 1 Build the whole frame first
The layers and the top interface go together into a standing frame before any chute goes in, on Stacking the layers. Finish that first and come back here.
Step 2 Add the chutes one at a time
Once the frame is finished, add the chutes one at a time, in layer order. Each chute goes in as a complete unit, the chute core with its own parts already attached. The layer connectors join each chute to the one below it, so working through the layers in order matters more than which direction you start from.
Each chute's 300 mm (12 in) ribbon (RIB2) is joined to the chute below at the same time, so do it as each one goes in. Its other end is already in the board, plugged in on the bench because that socket is hard to reach afterwards; see Layer adapter board for which socket is which.
Step 3 Fit the funnels last
Once every chute is in the machine, hang each layer's funnel on the brackets already fitted to its core. It is the same snap fit described on Funnel brackets, done in place instead of on the bench.
Step 4 Bottom Lazy Susan, then the feeder
The bottom interface is the Lazy Susan the bottom of the chute stack sits on, so the chutes have to be in first. It is the last thing fitted in distribution. The feeder goes on after that.