
Helpers — Heat inserts
Installing heat inserts
How-to guidePressing brass heat-set inserts into printed parts.
Parts needed
Heat inserts
Tools needed
- Soldering iron or heat-set insert press
- Needle-nose pliers
A soldering iron does this, and so does a dedicated heat-set insert press. Both are below.
Eight assembly steps call for inserts. Do a part's inserts before you start its own steps, and use the size that part's list asks for.
Using a soldering iron
Step 1 Place the insert
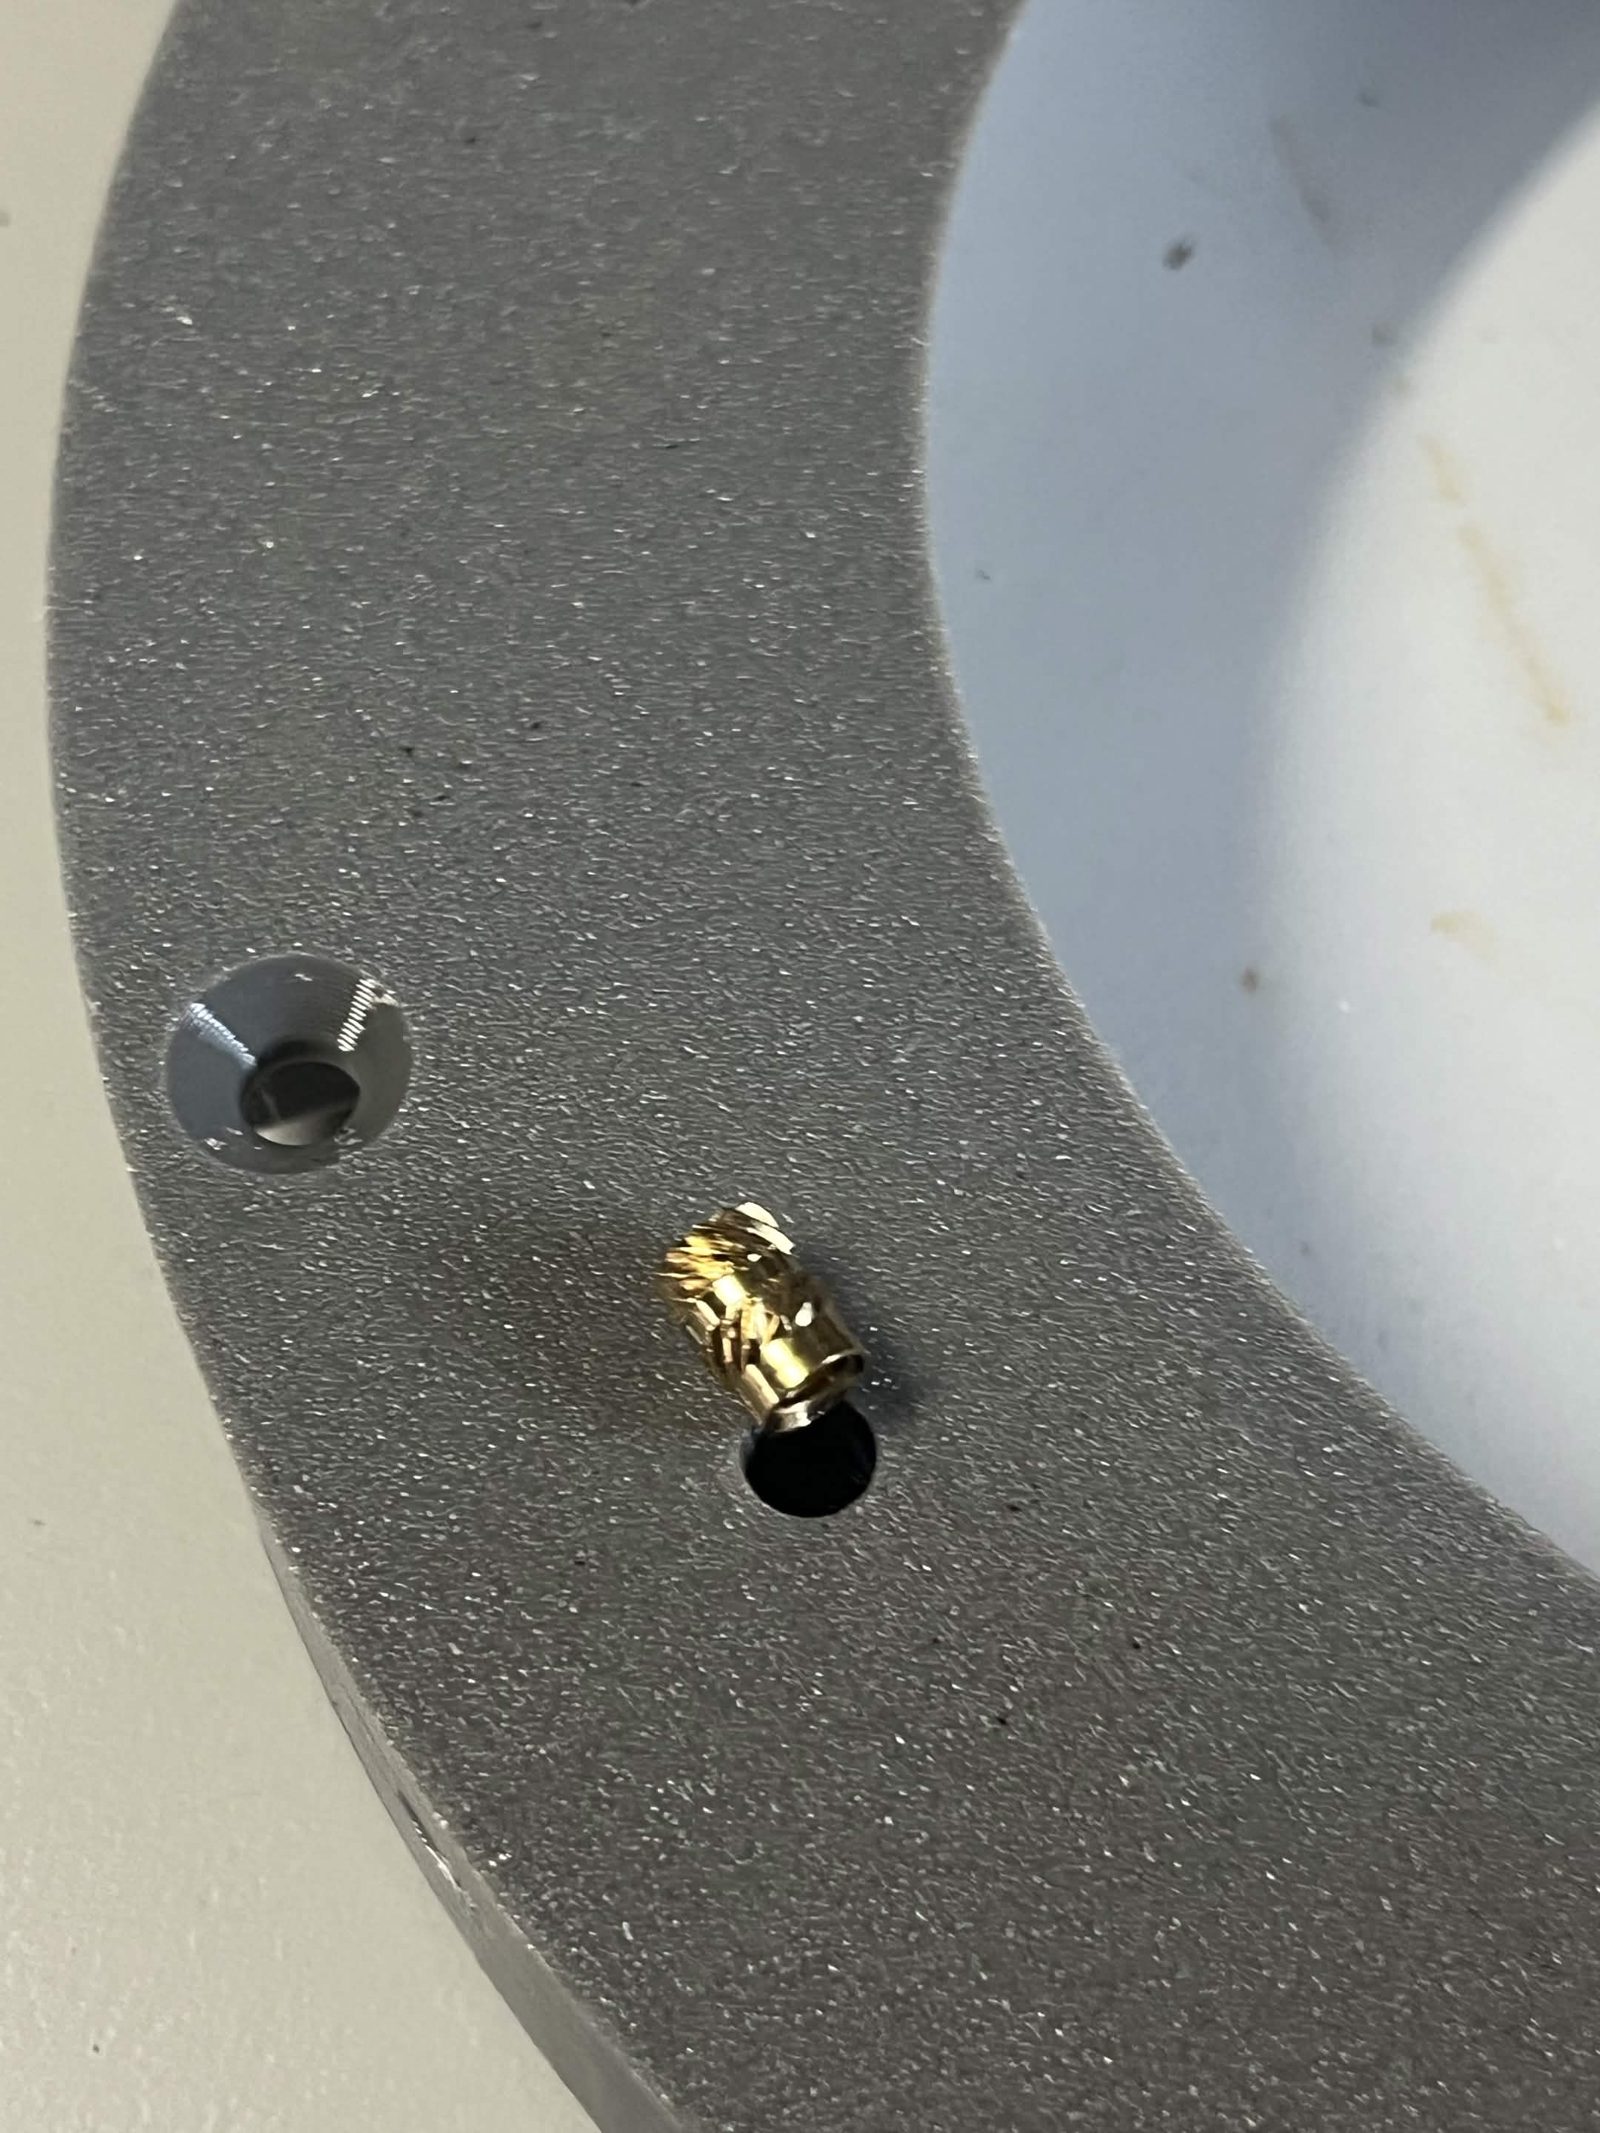
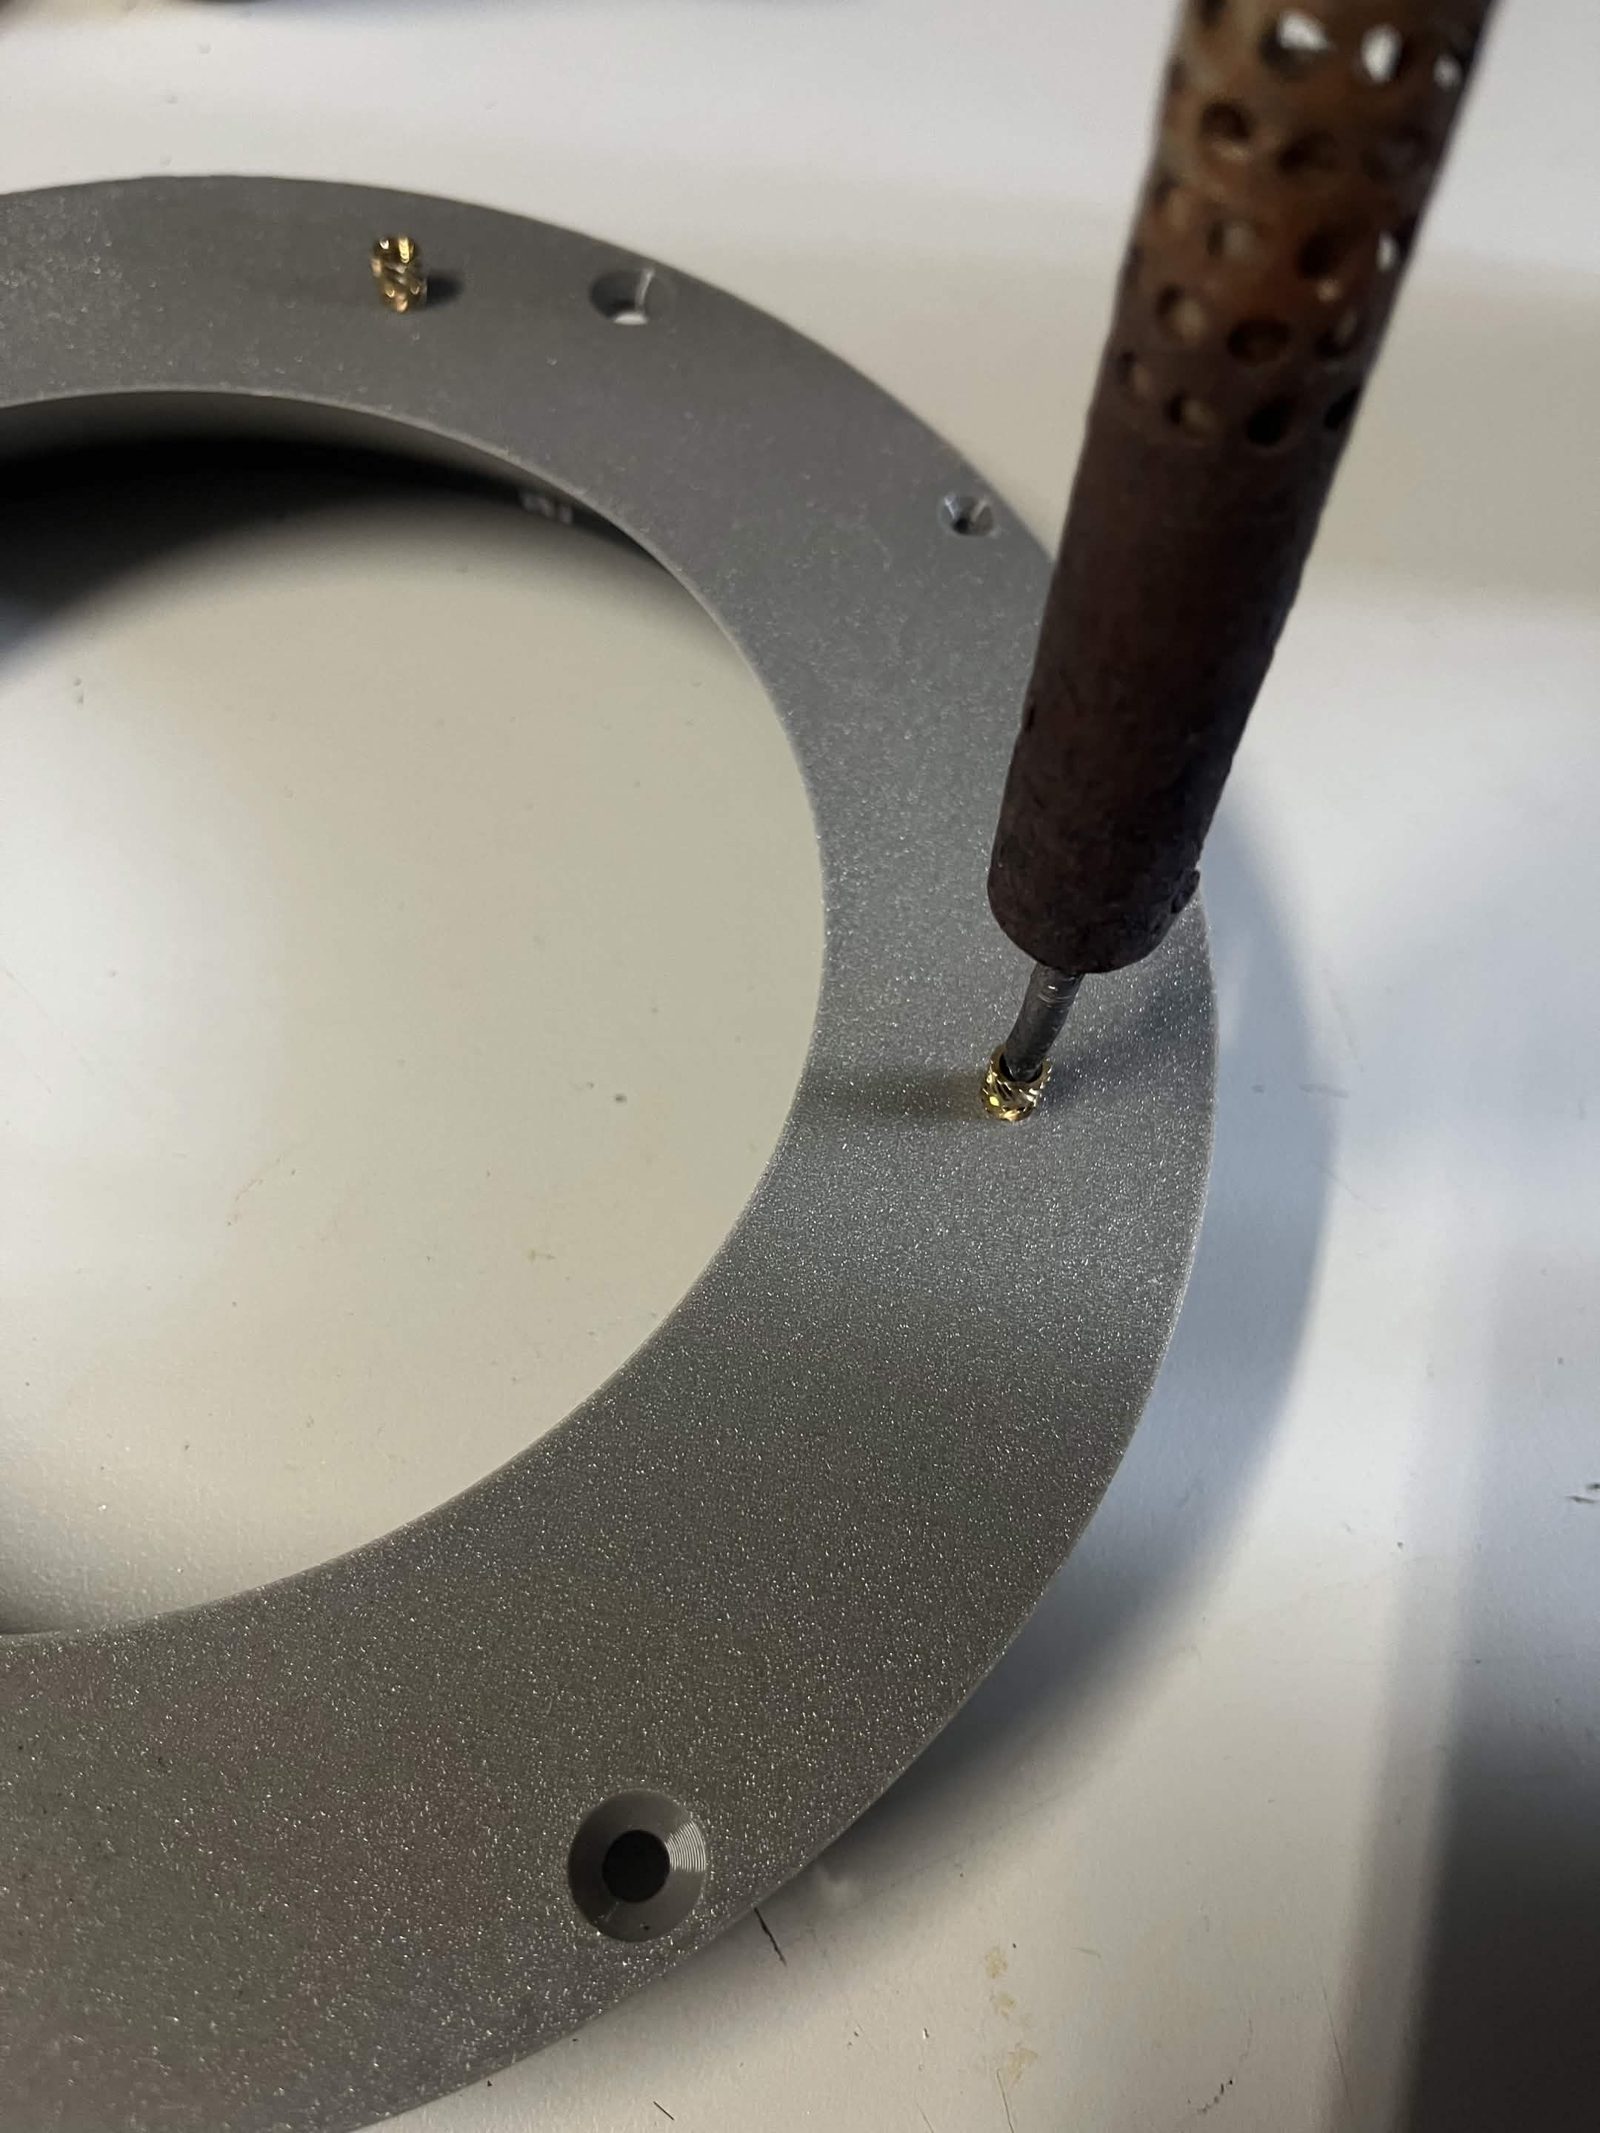
Stand the insert on its hole, thinner section down, straight and centered.
Step 2 Heat it in
The iron tip, the insert, and the plastic around it are all hot enough to burn. Hold small inserts with the needle-nose pliers, never your fingers, and rest the iron in its stand between inserts. Melting plastic gives off fumes, so work somewhere ventilated and do not lean over the part while it is heating.
- Set the iron to 200 to 220 C (390 to 430 F). For any other filament, use its printing temperature as a rough guide.
- Line the tip up with the center of the insert and apply slight pressure.
- Wait. After about 20 seconds the plastic reaches its melting point and the insert starts to sink on its own. A larger insert takes longer to get there.
- Push it straight down into the hole, not at an angle. It travels faster as it gets hotter, so go steadily and check it from two sides as it sinks, not just from above.
- Keep the iron on it until the top of the insert is flush with the surface of the part.
- Straighten it before you take the heat away. Once the plastic cools it will not move.
If one goes crooked or sinks too far
Reheat it. Pull it back up and straight with the pliers while the plastic is still soft, then let it set again.
If the plastic around it has visibly melted or bulged, that hole may not hold a thread. Back the insert out, let the part cool fully, and try a screw in it. Reprint the part if the screw does not bite.
Using a heat press
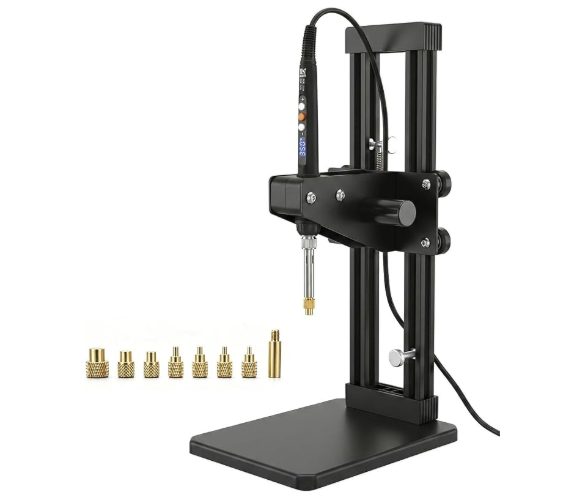
A heat-set insert press* holds the insert square and drives it straight down, so you line it up over the hole and lower the arm.
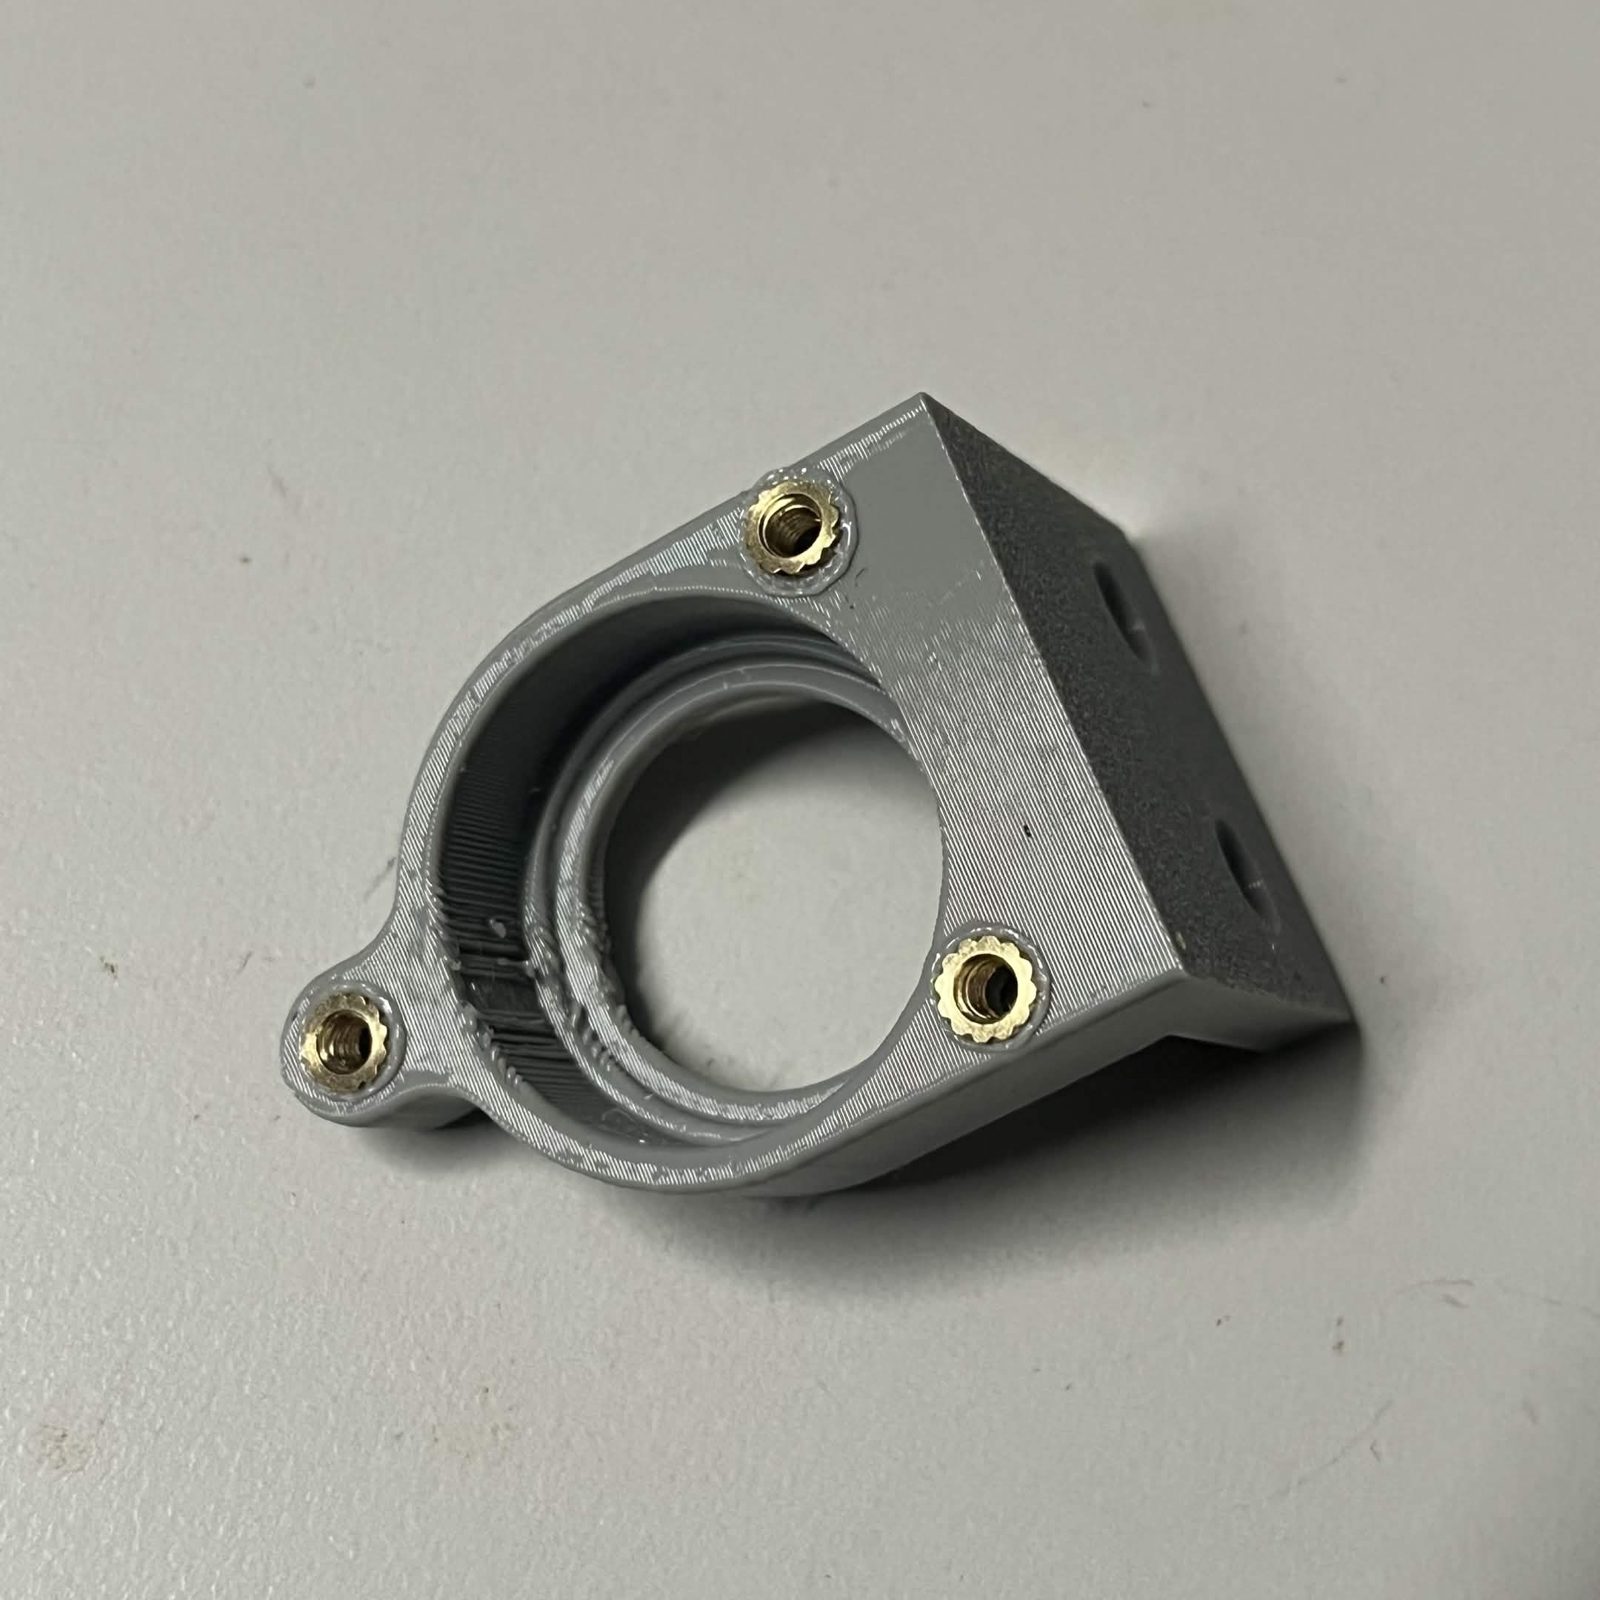
The finished result
Each insert flush with the surface it went into, and square to it. A small glossy ring where the plastic melted and closed around the brass is normal. Plastic that has bulged up around the rim, or a crater where the insert has sunk below the surface, is not.
* Links marked with an asterisk carry our Amazon affiliate tag — as an Amazon Associate we earn from qualifying purchases. The same listings without the tag: