
Chute — Funnel brackets
Funnel brackets
How-to guideThe two brackets that hang off the chute core, and the funnel that snaps into them.
Parts needed
Printed parts
One of these per layer
Half size
- 1×For a layer of 12 half bins.
Third size
- 1×For a layer of 18 third bins.
- 1×
- 1×
Screws
- 4× 12mm
Tools needed
- Hex key, 2 mm
The funnel catches what the door releases and guides it into the bin below. It hangs off two printed brackets that are part of the chute.
The fasteners and quantities are in the parts list above and are called out inline at each step.
Fastener icons match the parts list: the silhouette is the head shape, the colour is the thread size. M3 M4 M5 M6
- One funnel per layer, in one of two sizes, and it is your choice which. Step 2 is that decision; the brackets are the same either way, so they go on before you have made it.
- The brackets screw into the chute core's M3 heat inserts, so there is nothing to tap.
- The 4 M3 × 12 mm countersunk they take are in the list above, and they go into the core's inserts rather than into anything on this page.
- The funnel itself takes no fasteners. It snaps into the brackets, which is step 3.
Step 1 Fit the funnel brackets to the chute core
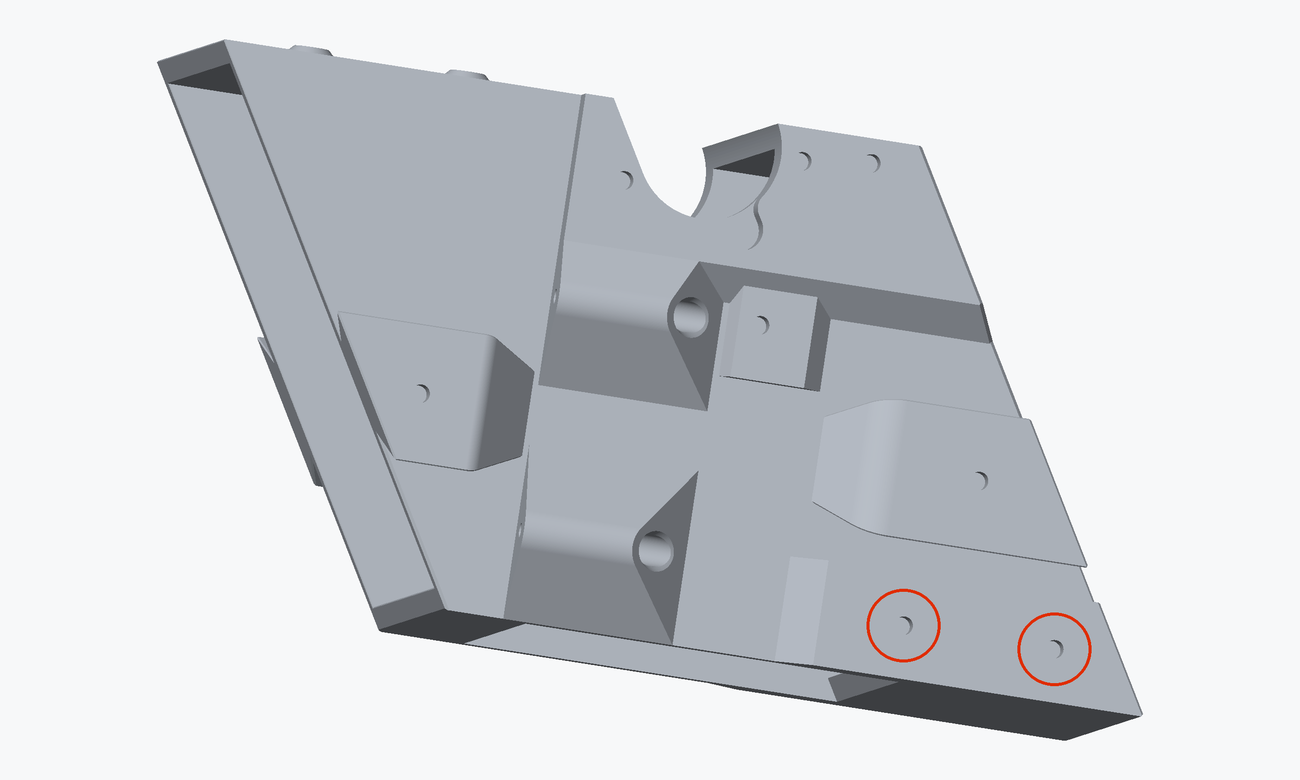
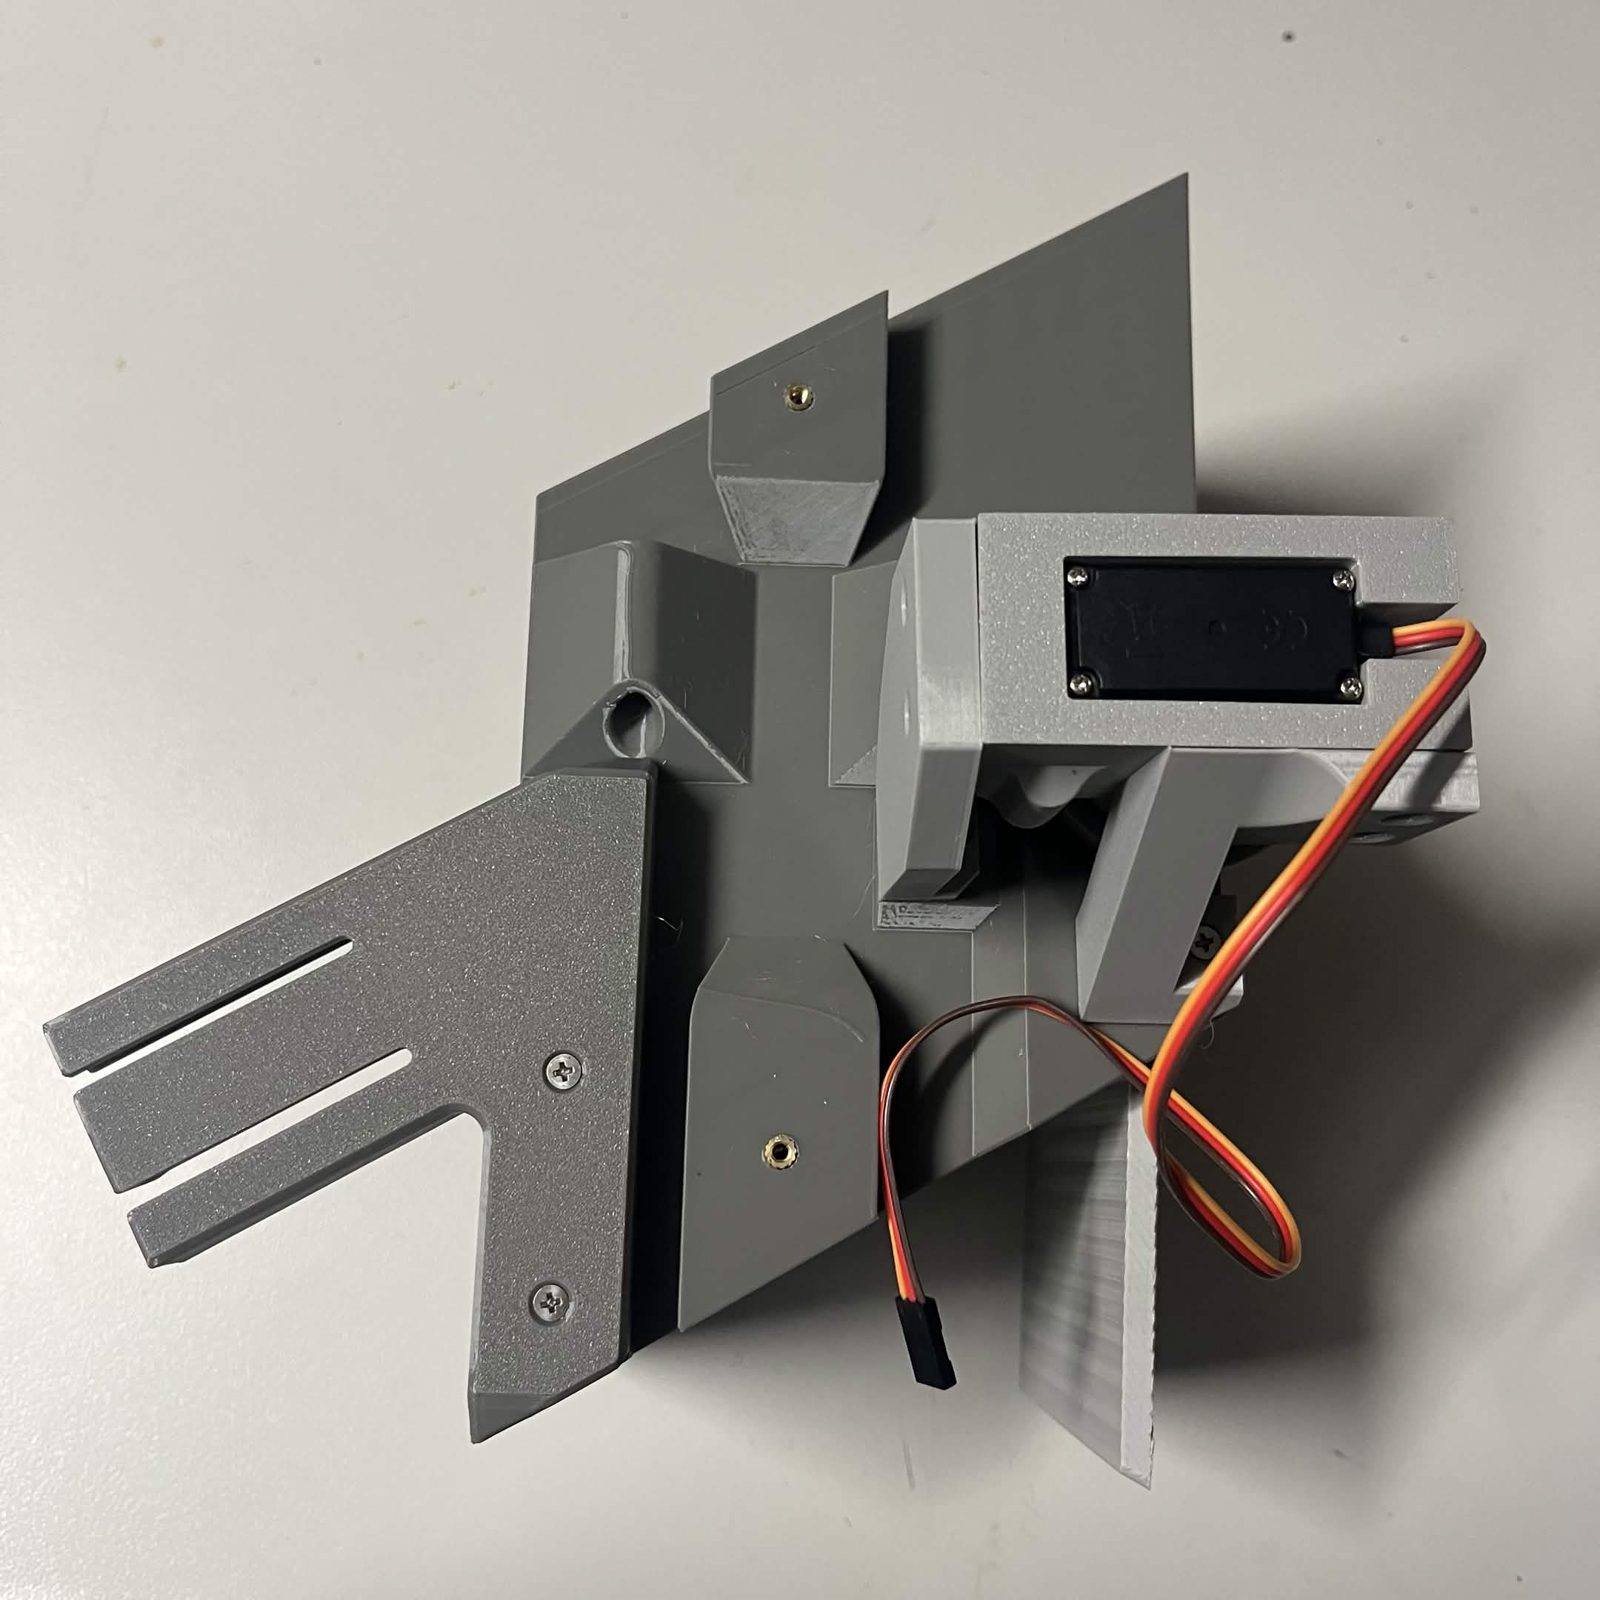
Every chute carries a Funnel bracket (left) and a Funnel bracket (right), one of each. They screw into the chute core's M3 heat inserts, which are pressed in on that page.
Each bracket takes 2 M3 × 12 mm countersunk screws, 4 for the pair. Use the 12 mm, not the 8 mm.
Step 2 Pick the funnel size for the layer
This is a builder's decision, taken once per layer. What you are choosing is how finely that layer divides its ring: into 12 bins or into 18. The funnel and the bin set are a matched pair, so the size you pick decides both at once, and a machine can mix sizes from layer to layer. Decide before you print either part.
Half size: 12 bins on that layer, six Bin (half, left) and six Bin (half, right).
- Wider funnel mouth, so this layer takes the biggest pieces the machine can sort.
- Twelve destinations instead of eighteen, so fewer categories land on this layer.
Third size: 18 bins on that layer, six each of Bin (third, left), Bin (third, center) and Bin (third, right-back).
- Half again as many destinations, which is what you want for the small parts that make up most of a pile.
- Narrower mouth. The opening is what limits piece size on a layer, so anything too big for it has to be routed to a half-size layer instead.
Neither is cheaper to build, and neither holds more.
If you have no reason to prefer one: the parts calculator starts a fresh machine at two third-size layers and one half-size, which is a sensible default. Most LEGO is small, so most of your destinations should be, but you want at least one layer that can take the big pieces. Nothing in the machine or the software ties a size to a particular height, so which level carries the half-size layer is yours to choose too.
The calculator takes a size per layer and totals the print for whatever mix you pick.
Step 3 Hang the funnel
Nothing is screwed or glued here. Each bracket has two arms: the one with the two countersunk holes is the one that went onto the core in step 1, and the plain arm is a sprung slide. The funnel has a rail down each side that runs into that arm. Push the funnel onto the pair of brackets, the arm flexes to let the rail past, and it springs back and holds the funnel there.
It should feel like it has landed. If the funnel can be lifted straight back off without the arm flexing, it has not gone far enough in.
The finished result
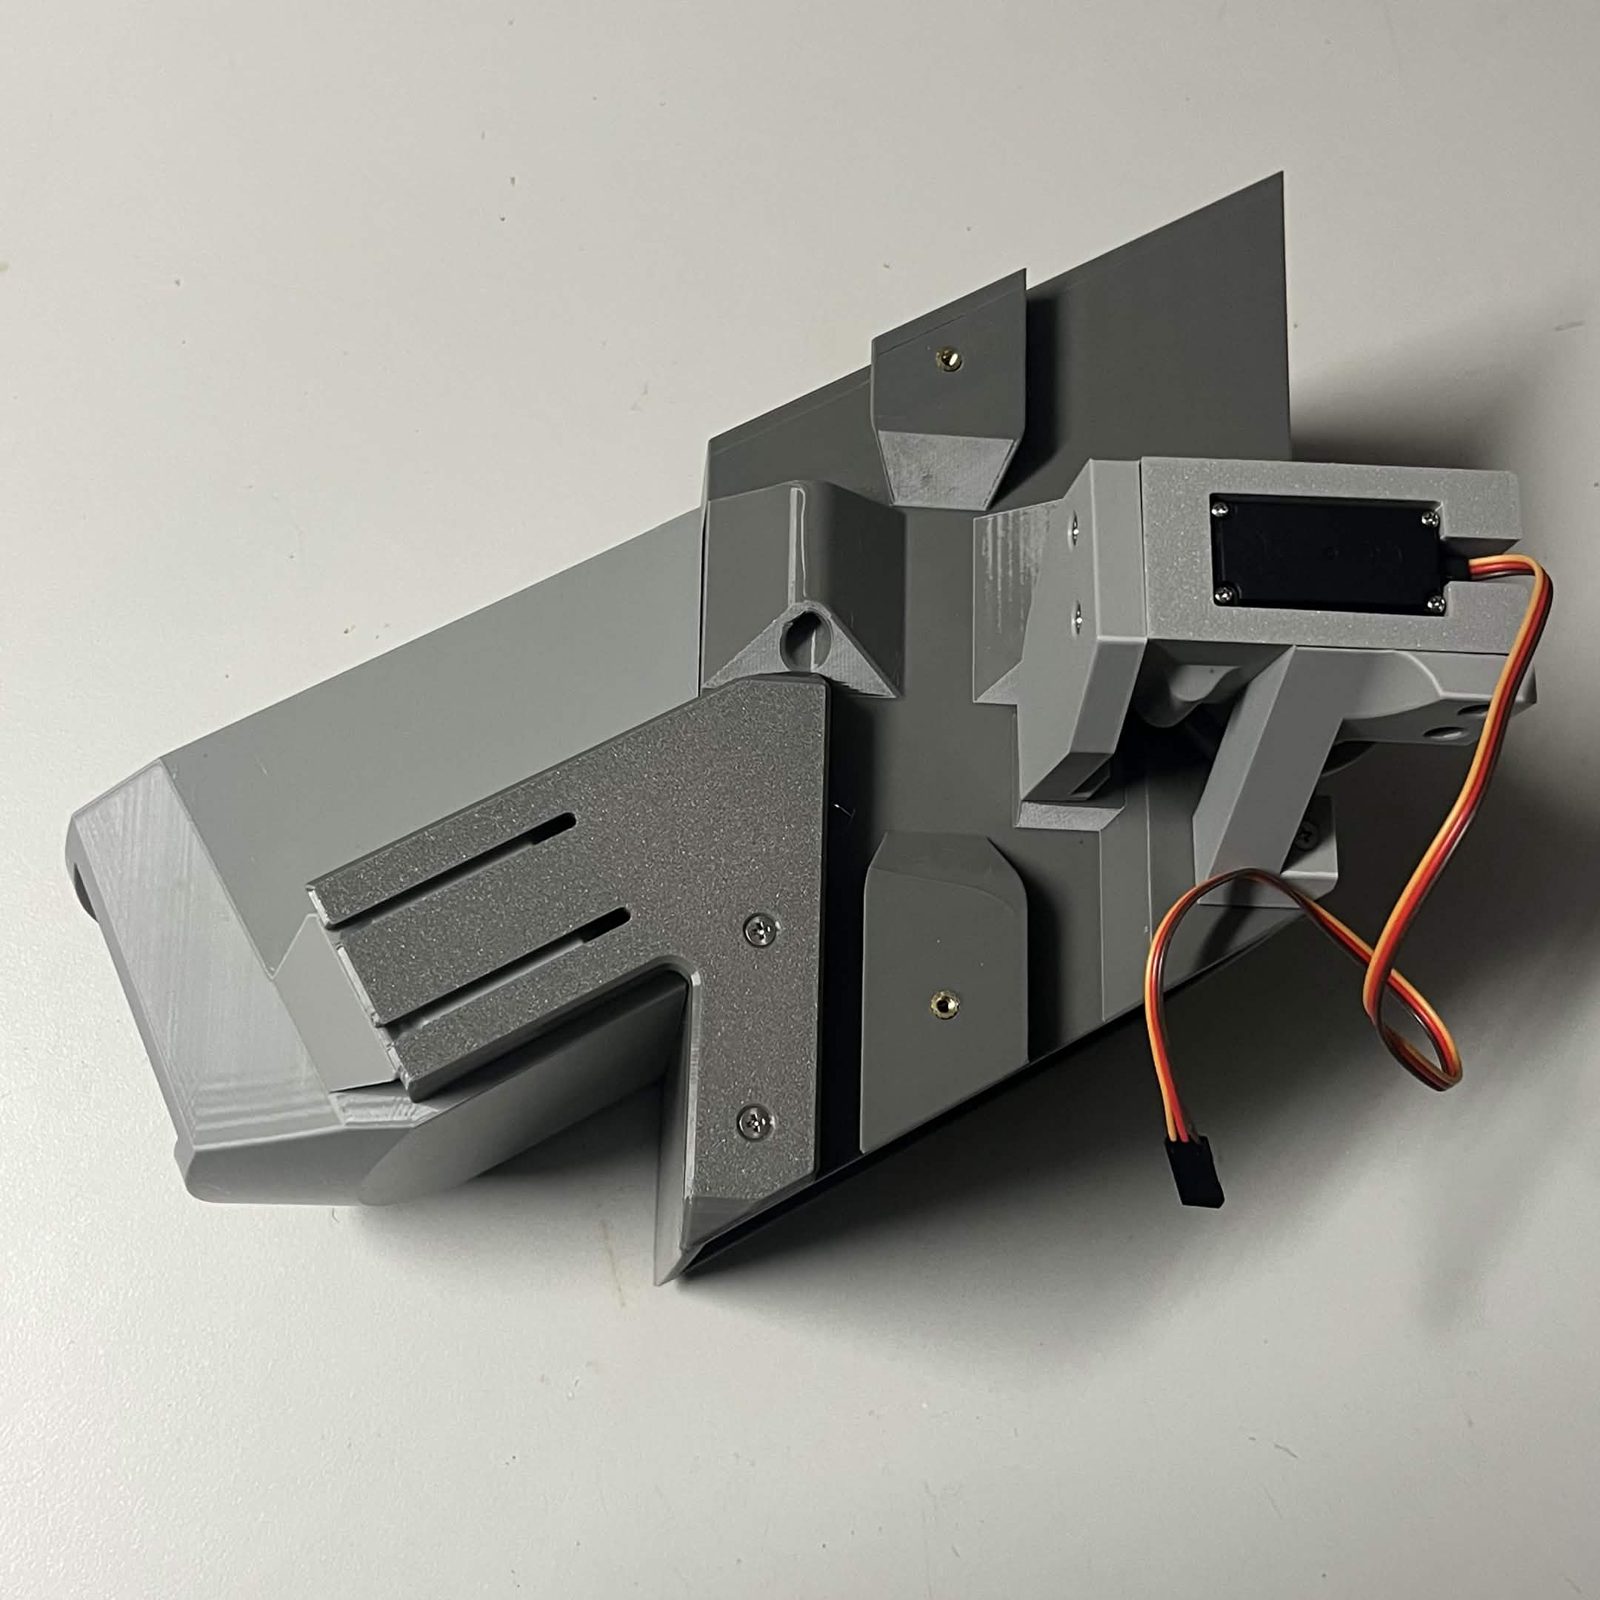
Both brackets are bolted to the core, one each side of the throat, with their sprung arms hanging down ready for the funnel.
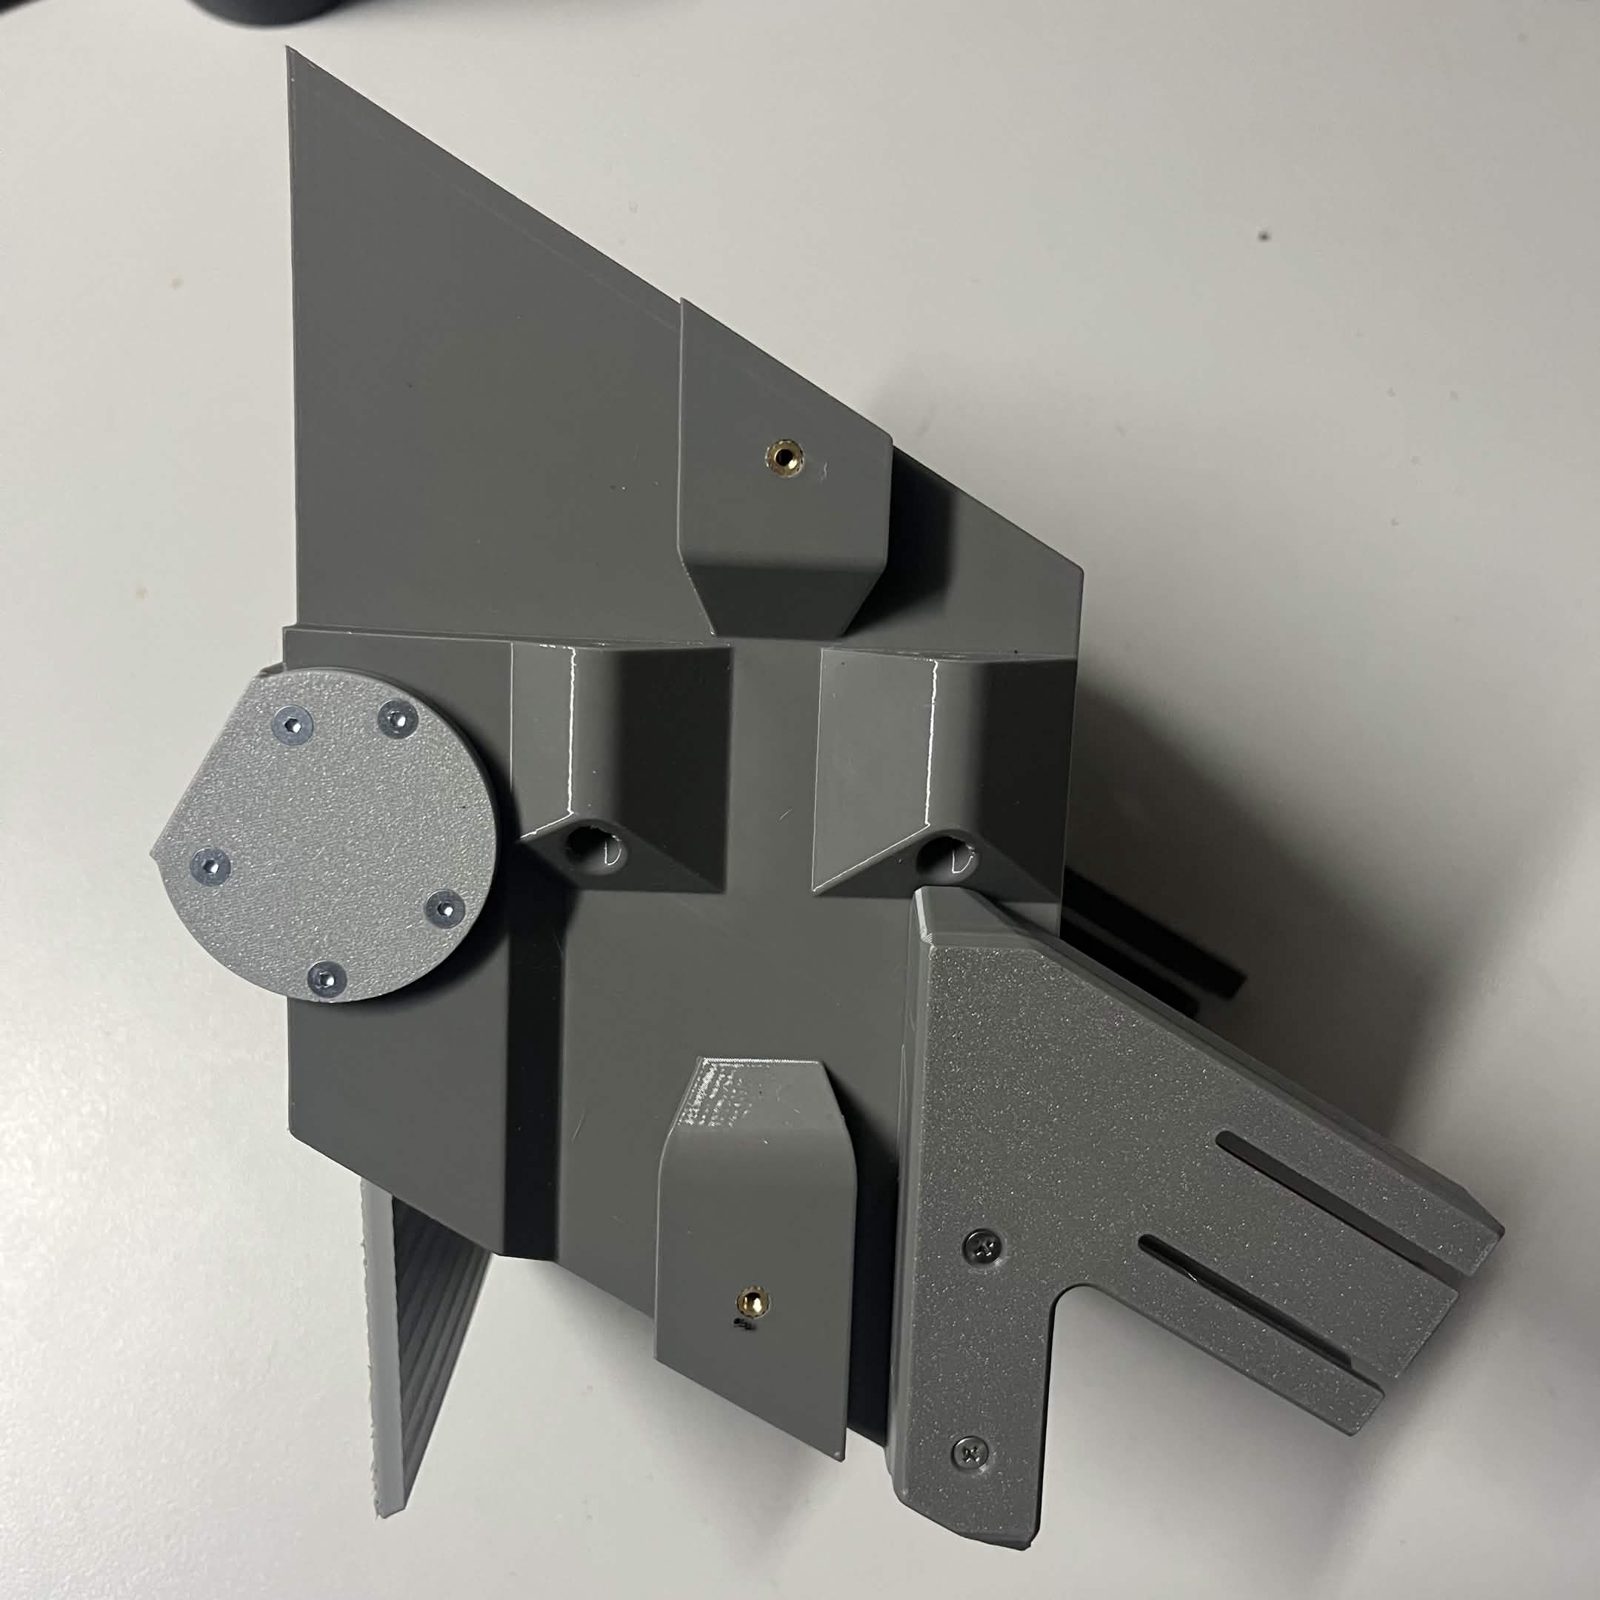
The Chute core page carries the other three sub-assemblies that go on the same core, and is where you should return once you're done here.