Helpers — T-nuts
Fitting T-nuts
How-to guideHow the machine's roll-in T-nuts go into the extrusion, and what changes if you buy a different style.
Parts needed
Nuts
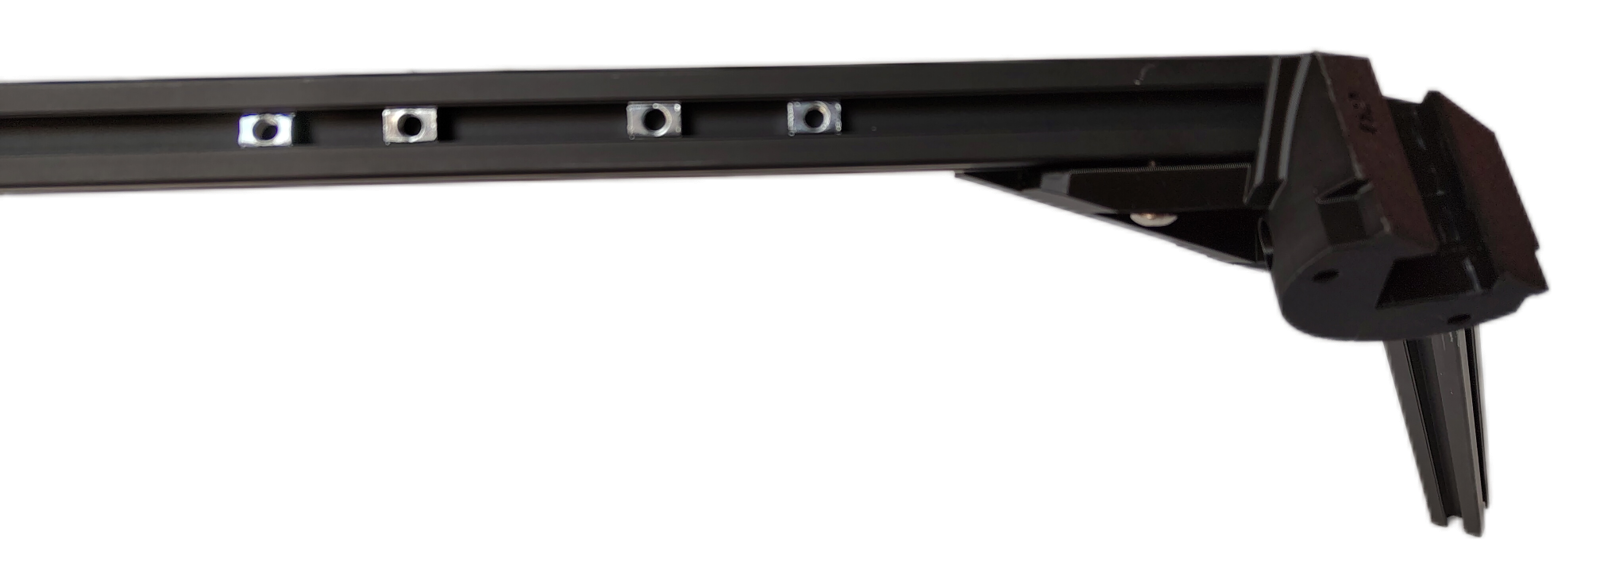
Every M5 screw that fastens a printed part to aluminum extrusion, rather than tapping into plastic, lands in one of these. The parts list calls for a spring-loaded roll-in T-nut for 2020 extrusion.
This needs no tools. The T-nut goes in and turns by hand.
Fitting one
- Hold the T-nut with its long axis lined up with the opening of the slot.
- Push it into the slot. Anywhere along the length will do.
- Turn it a quarter turn, so its two ends sit under the lips of the slot.
The spring leaf or ball on the back then holds it where you put it. Two things follow:
- You never have to fit one early. No frame has to come apart to add a T-nut to a slot that is already built into the machine.
- You can undo a joint without losing the nut. Take the screws out, lift the part off, and the T-nuts stay in the slot.
If you have a different style
Cheaper T-nuts are usually slide-in: a plain rectangular block with no spring. It can only go in at an open end of the extrusion and then slide along to where it is needed, so a slot with a bracket at both ends can no longer take one.
If that is what you have, there is one place to fit them before the frames close around them: 4 per A extrusion on each hex frame, toward the outer end of the extrusion, for the bin retainers. Both ends of an A extrusion are closed once the outer hexagon is together.
The bottom interface's Lazy Susan mounts need nothing early, whichever style you have: that mount goes onto the spoke from its open inner end with its nuts already started on its screws.
A slide-in nut does not hold its position, so one you fitted early can drift along the slot before you reach the part that uses it. Fit the part in the same session.
The finished result
T-nuts sitting in the slot with their ends under the lips, each holding its own position, with no screw in it yet.