
Helpers — Timing pulley
Preparing the 20-tooth timing pulley
How-to guideRemove the top flange from the 20-tooth timing pulley before assembly.
Parts needed
Pulleys
- 1×
Tools needed
- Needle-nose pliers
- Bottle opener, for extra leverage
The pulley arrives with a flange at each end. Only the top one comes off, and the lower one stays. Without that, the pulley does not fit inside the Interface spur gear.
Do this before the pulley goes on the NEMA 23 shaft, at the top interface.
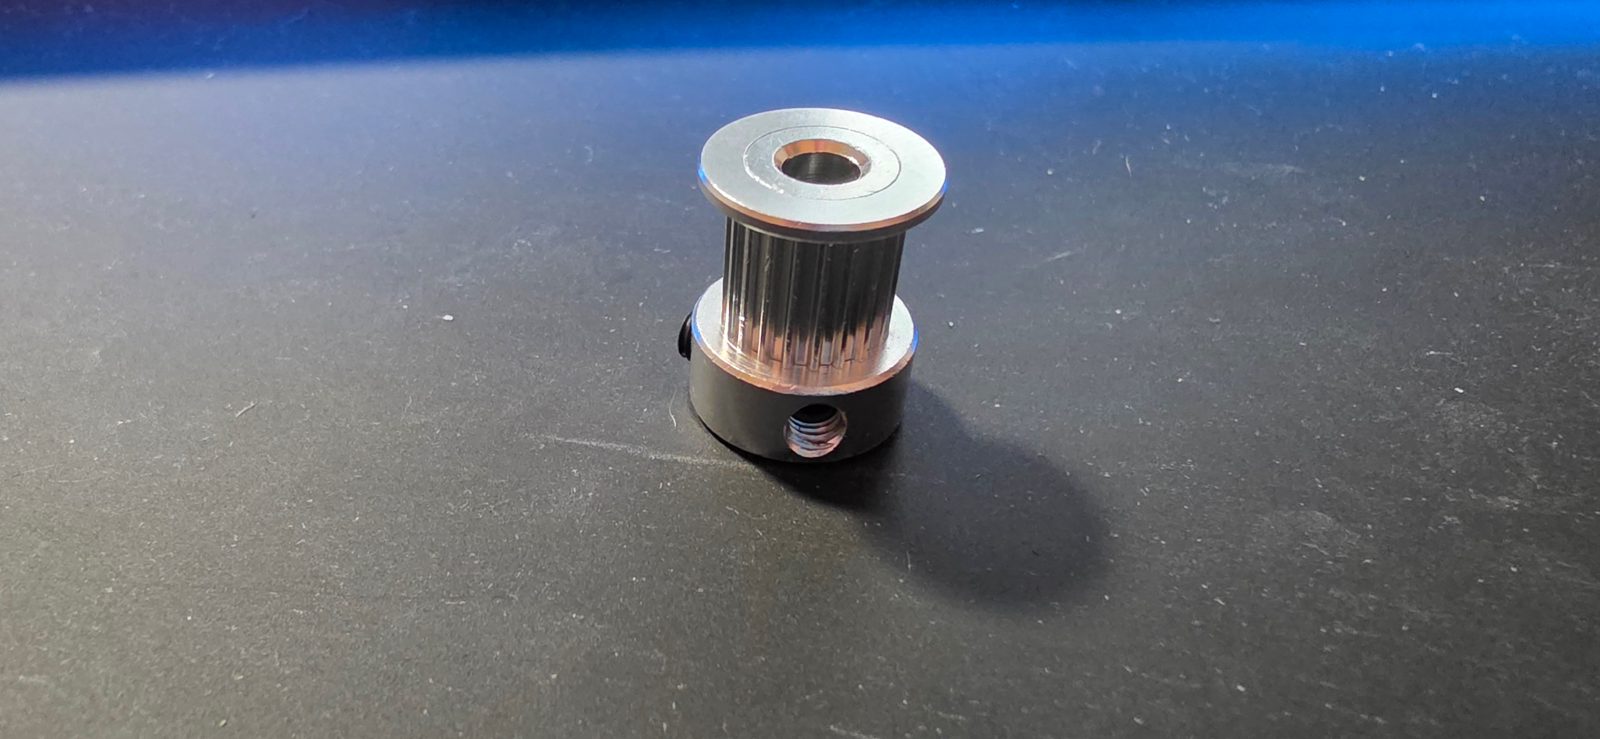
The flange lets go suddenly once it is pried far enough. Pry away from yourself and keep your face clear.
Remove the top flange
- Hold the body of the pulley in the needle-nose pliers.
- Get the edge of the bottle opener under the lip of the top flange.
- Pry a little, then move a short way around the circumference and pry again. Work all the way round rather than forcing one side.
- Keep going until the flange pops off. Set it aside; nothing else uses it.
The pliers alone will do it if you have no bottle opener: grip the flange and pry it upwards.
The finished result
The pulley with one flange left, at the bottom, and a clean open top.
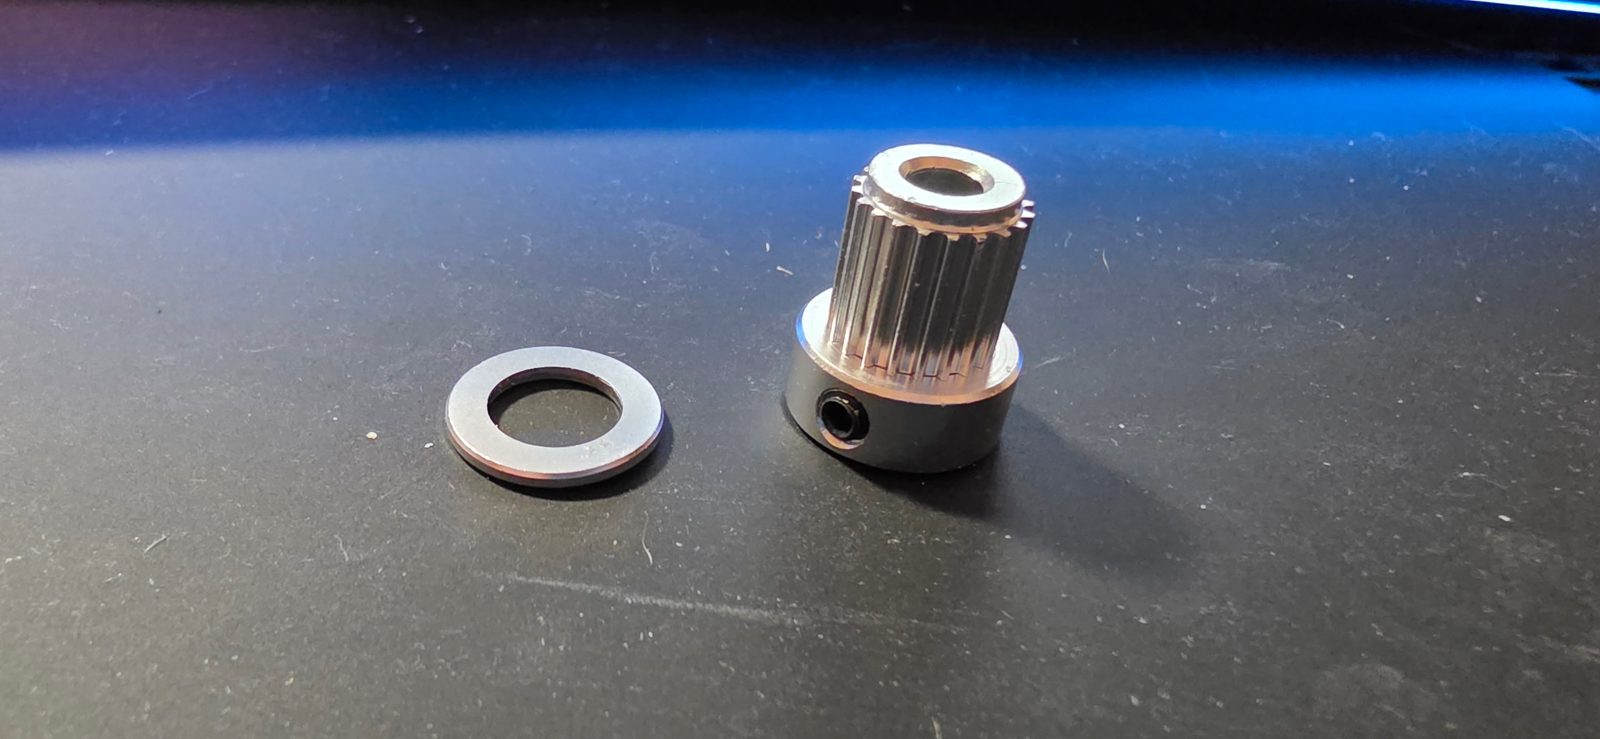
It goes on the stepper shaft at the top interface.